#42 Klaussner end table

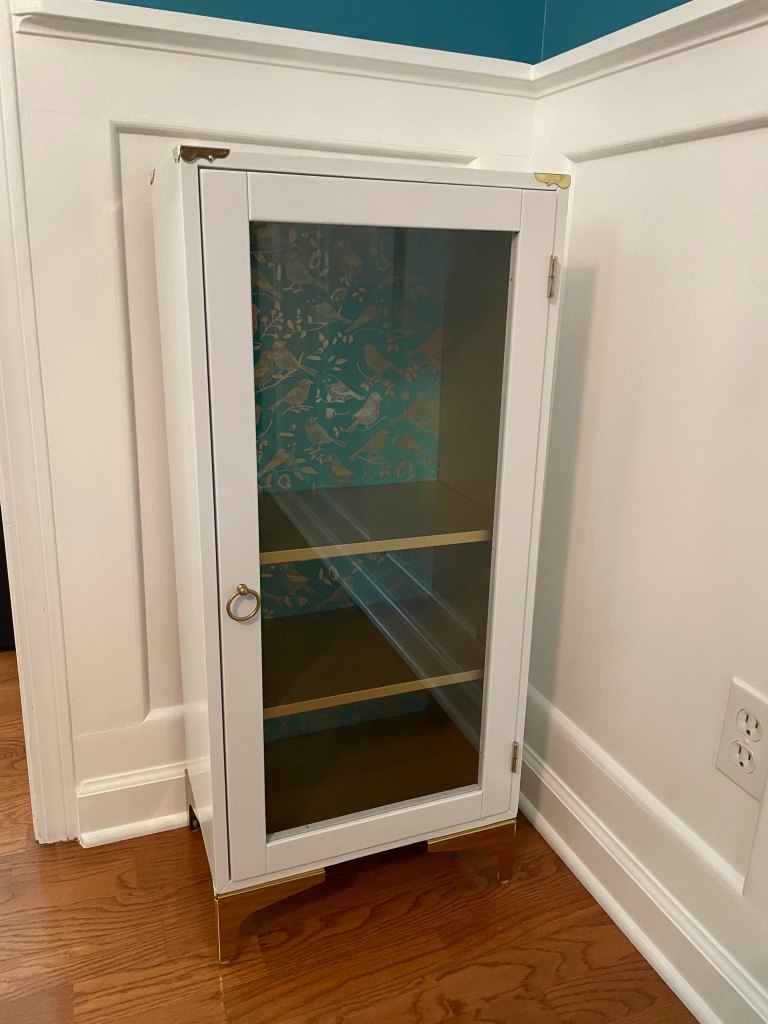
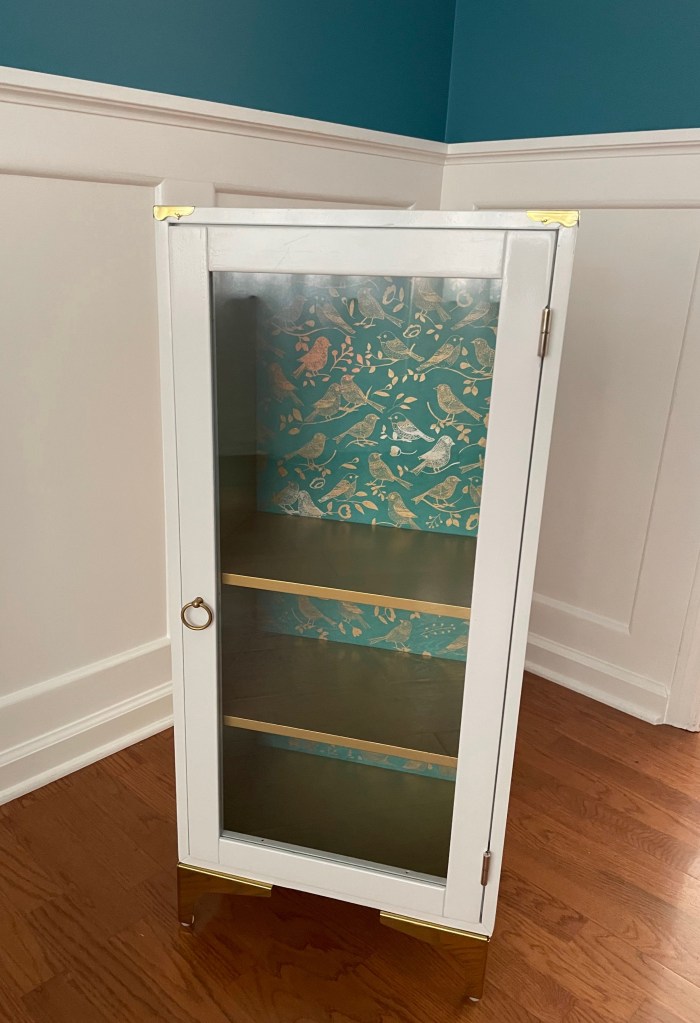
This project nearly made me hang up my paintbrush, and it will not make my top 10 list when I eventually reach my goal! It still fights me by refusing to be photogenic. Trust me when I tell you that the table top looks better in person than it does in any pics.

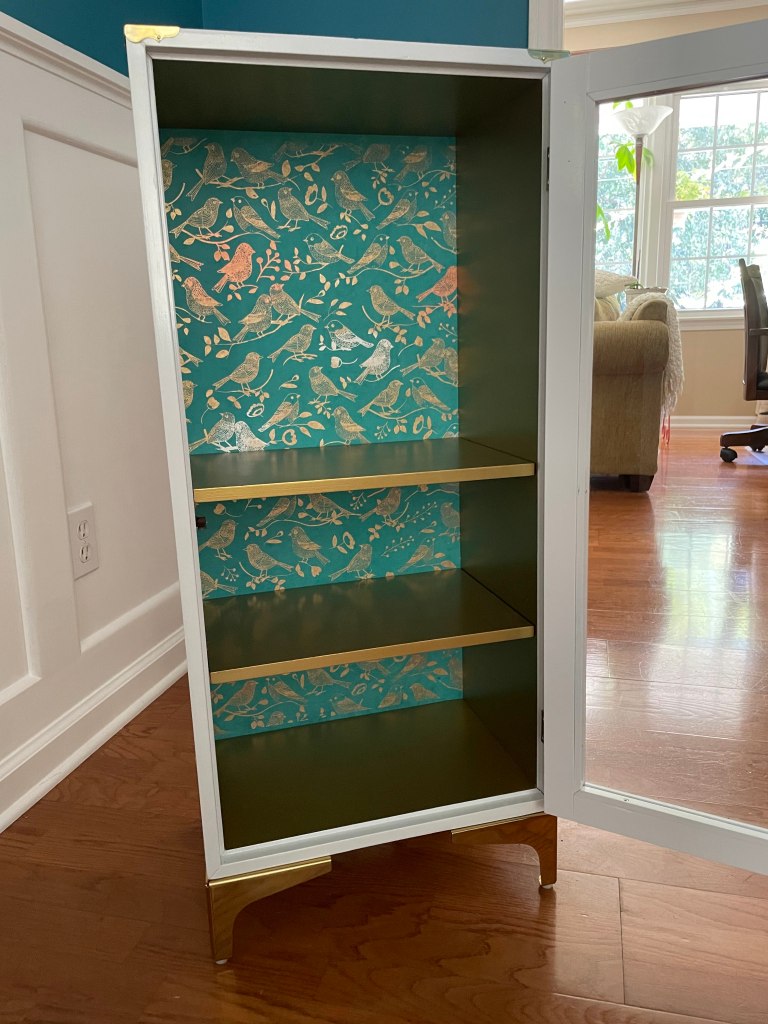
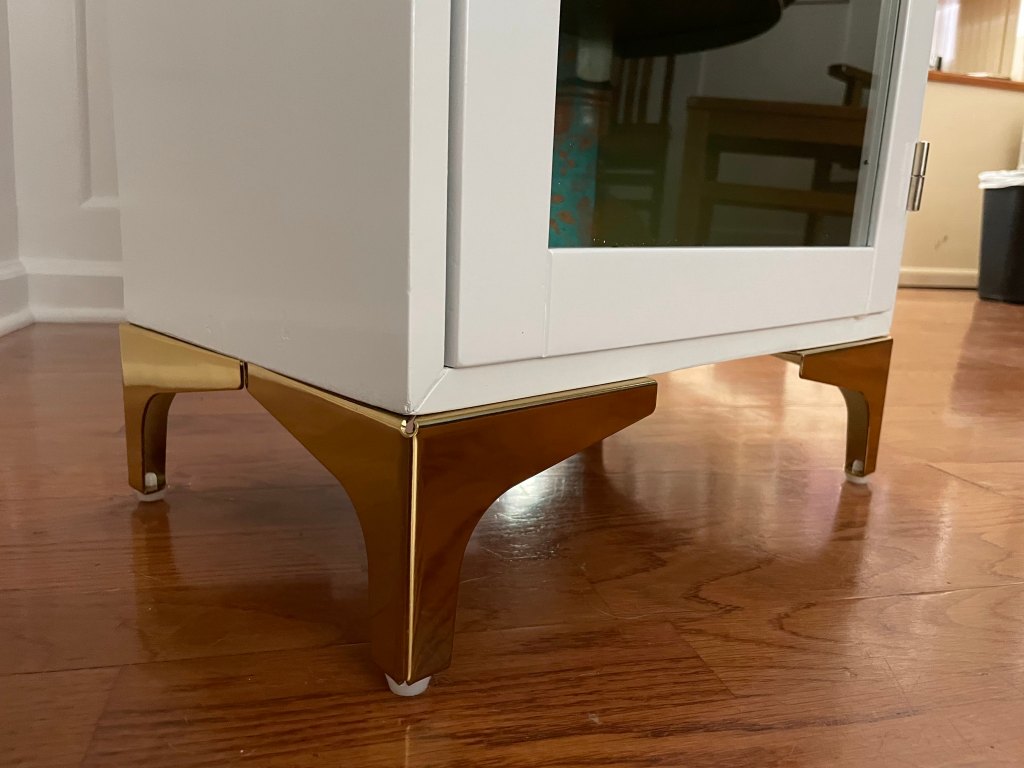
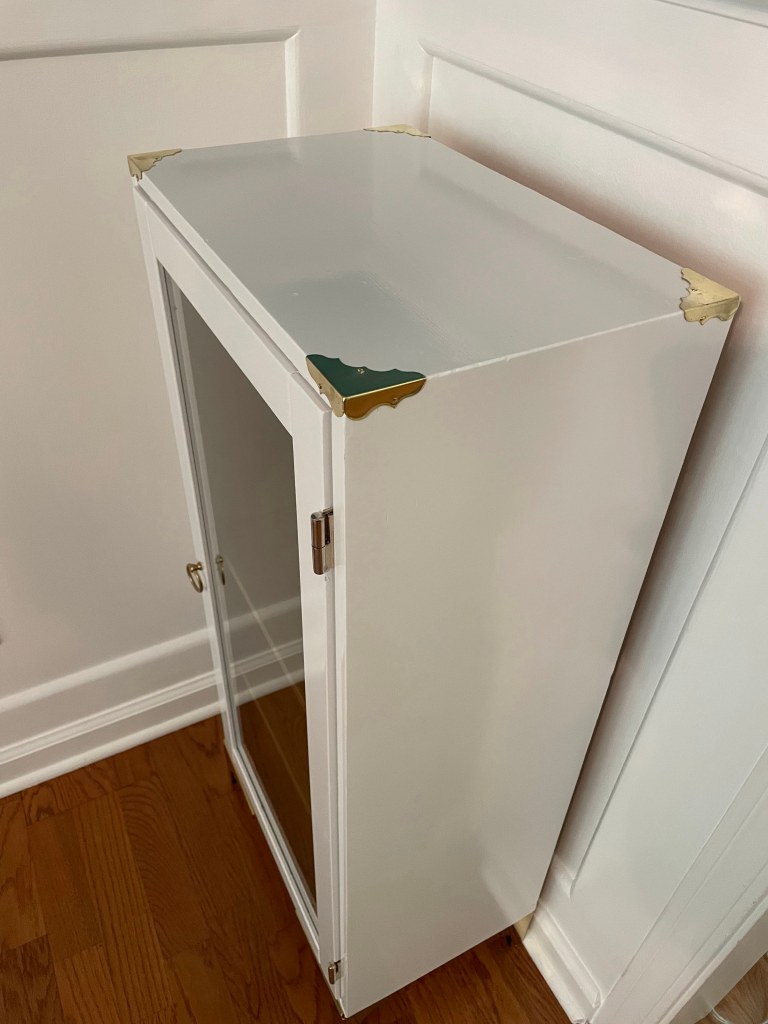
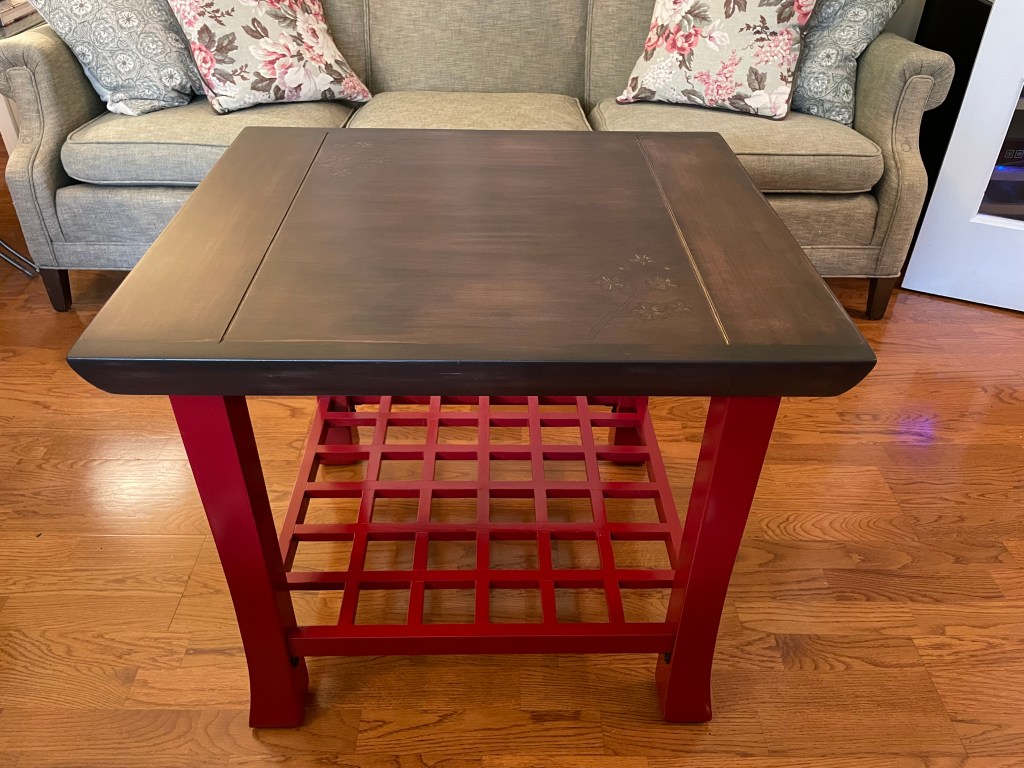
A friend of mine originally bought this end table as part of a living room set in the early 2000s. The matching coffee table had not withstood the rigors of raising four children; this table showed the scars, and had been put to the curb. It is a good quality Klaussner table that needed a complete makeover. The flare of the legs, the grid pattern of the lower shelf, and the upward curved edges of the top were what inspired the Japanese-style makeover.

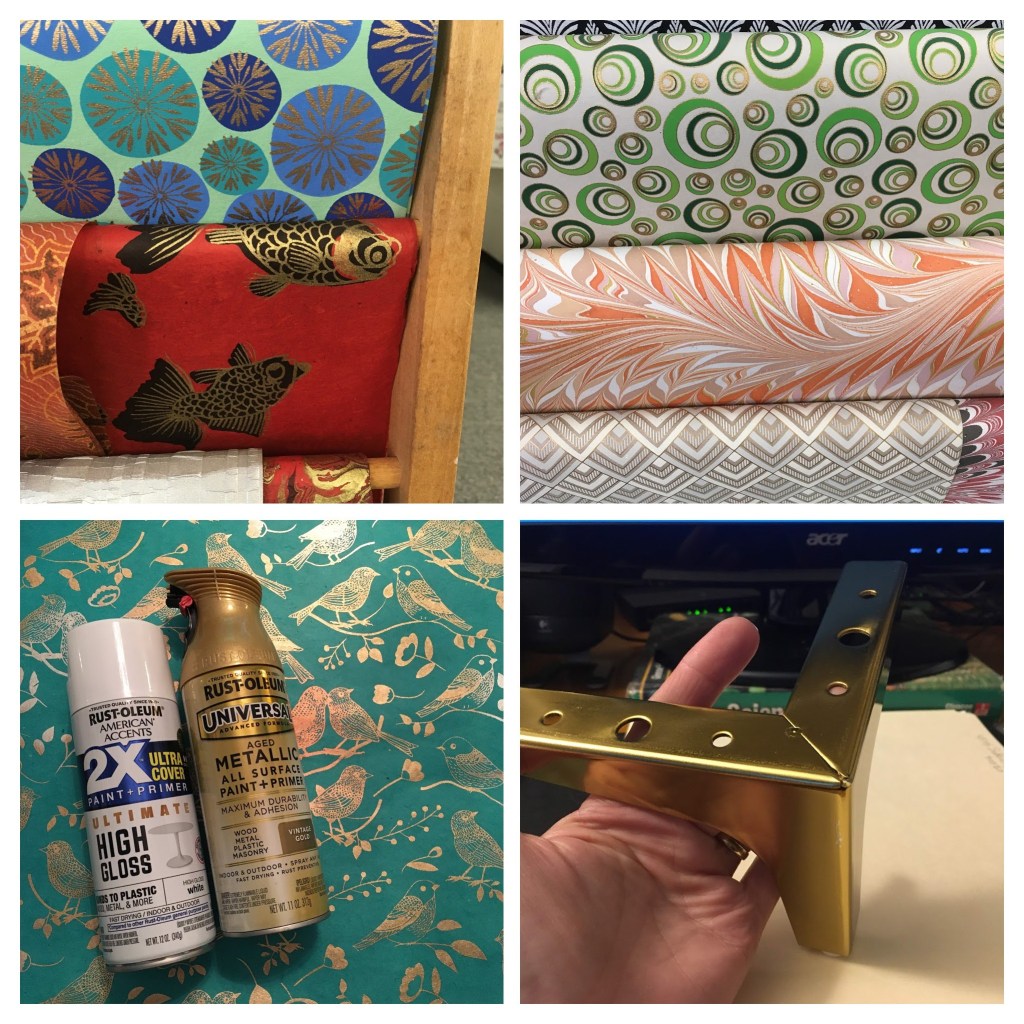
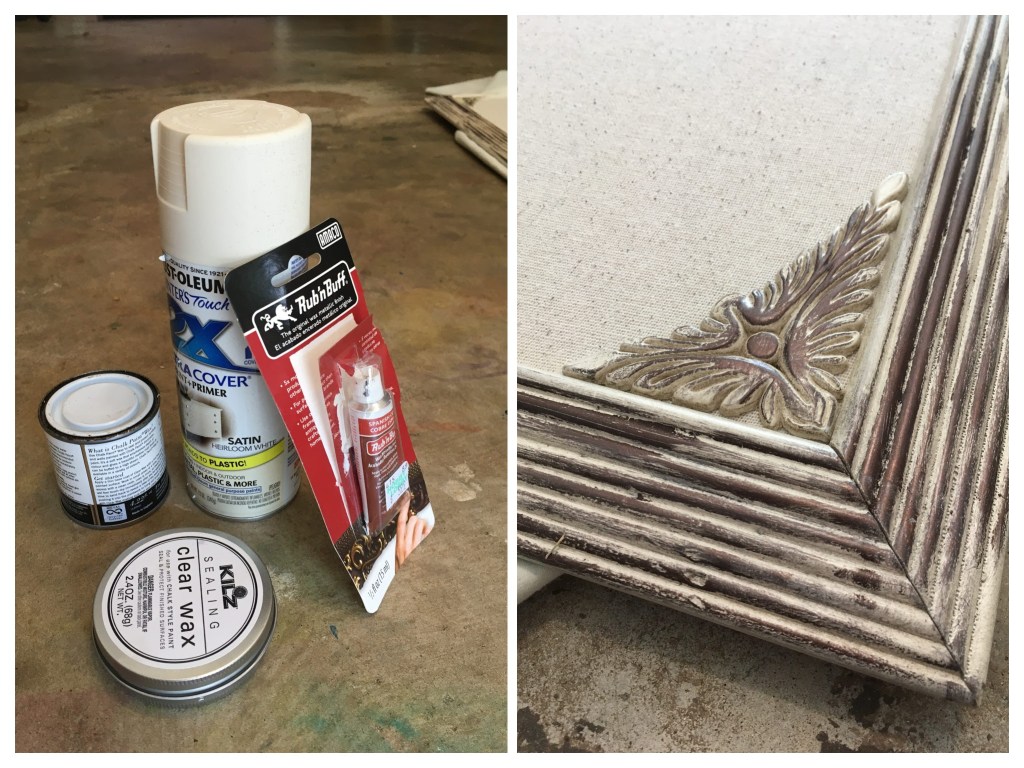
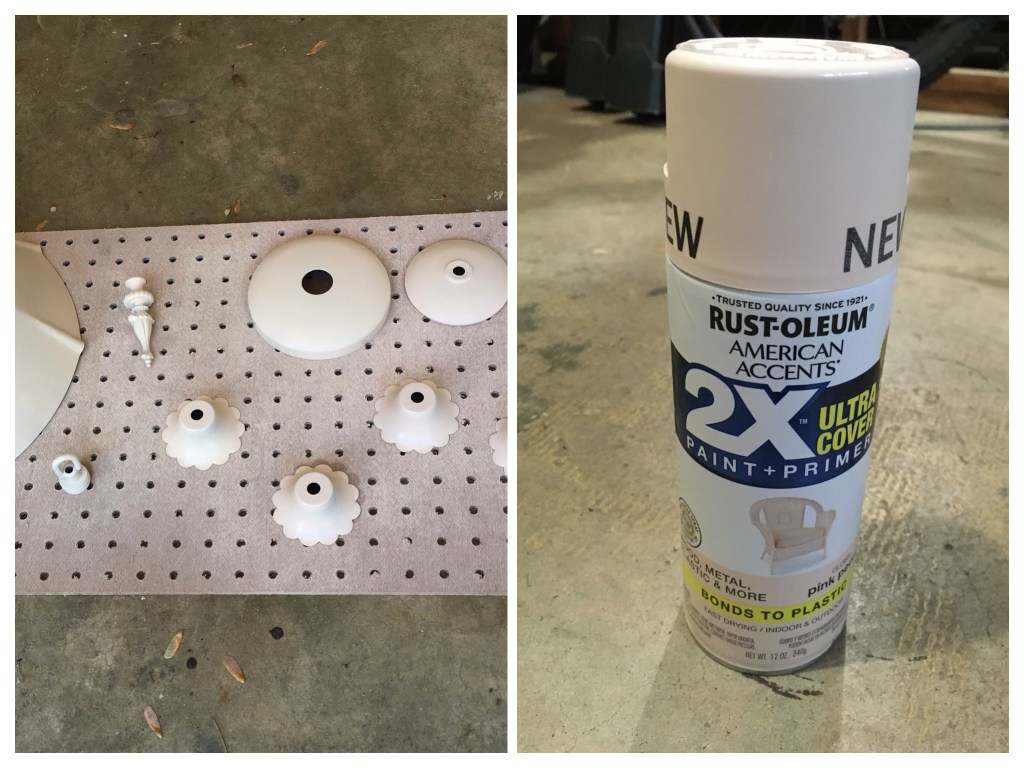
Materials used: Rust-Oleum 2X Ultracover primer, Rust-Oleum 2X Ultracover gloss Colonial red, Varathane wood stain (Kona), Folk Art Treasure Gold 5535, Varathane oil-based polyurethane in satin.

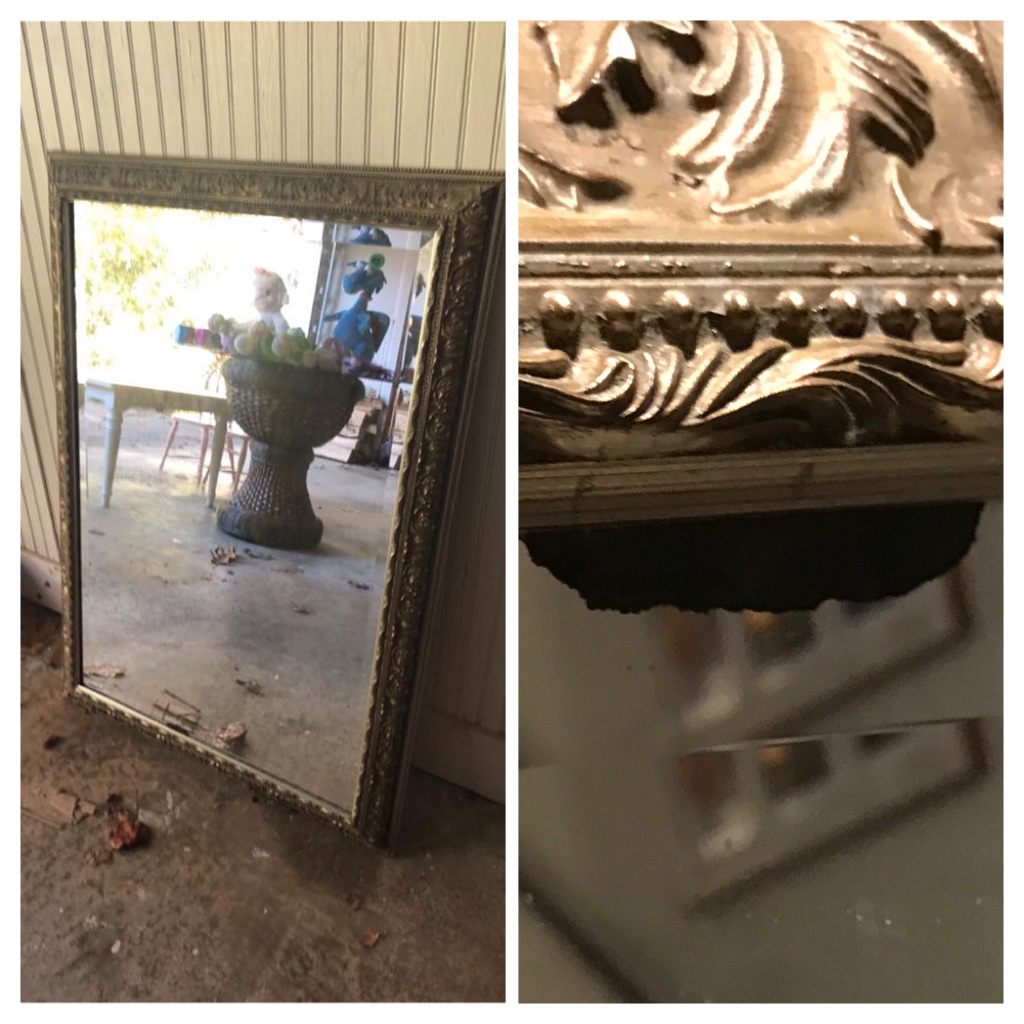
A previous paint job desperately needed fixing.

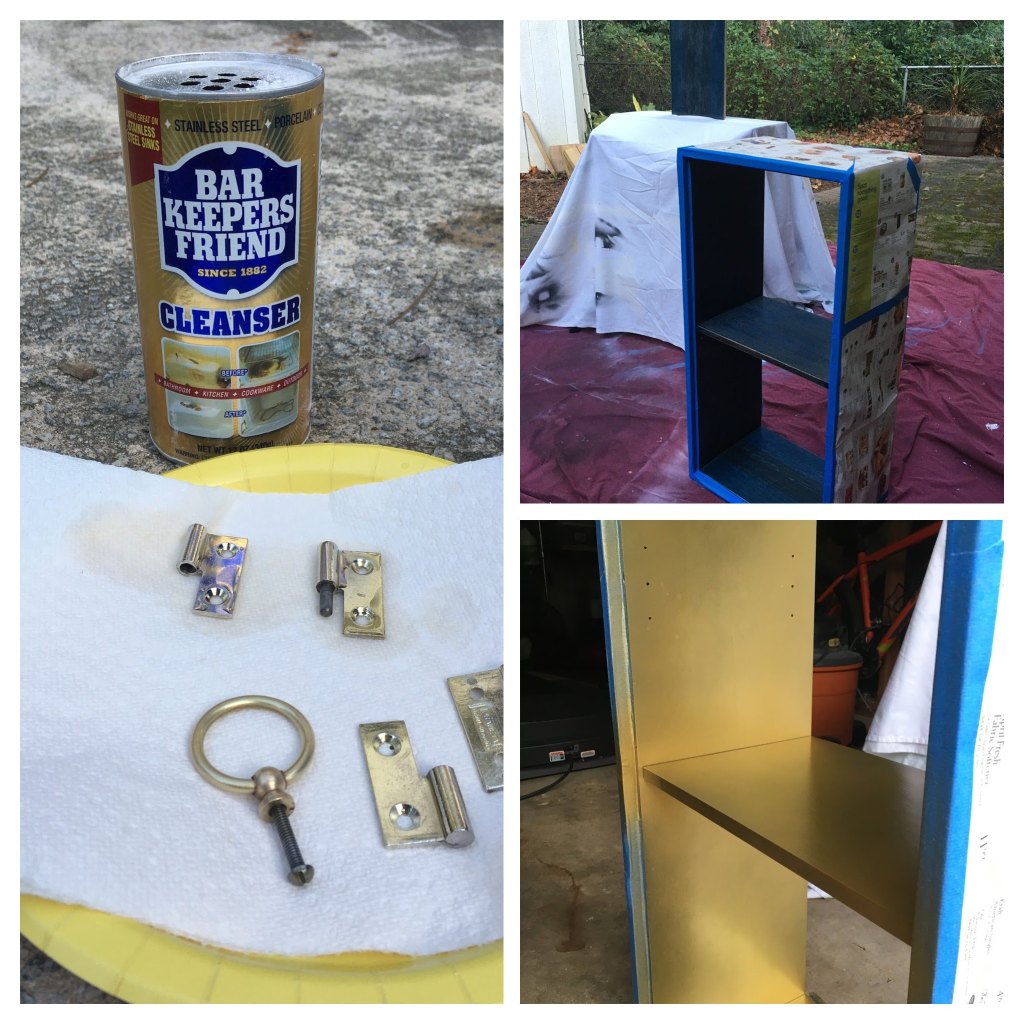
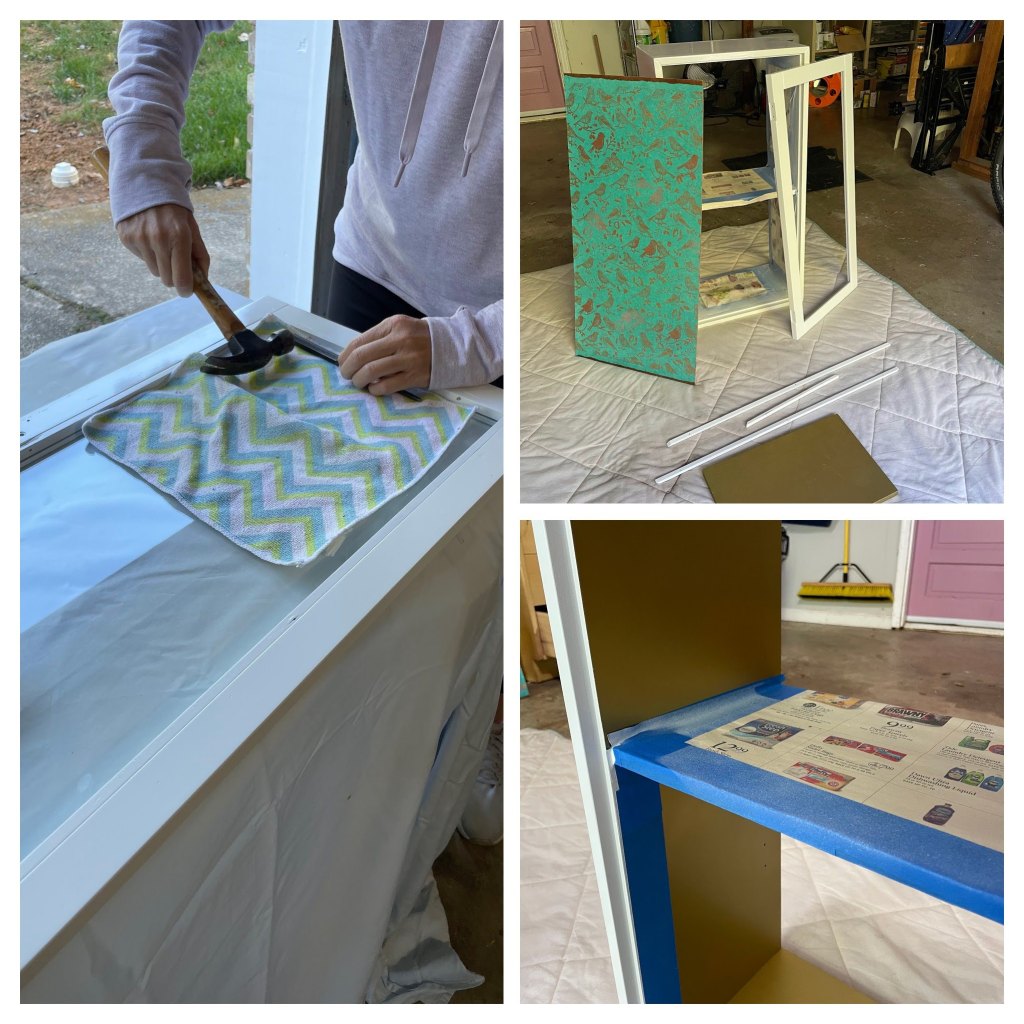
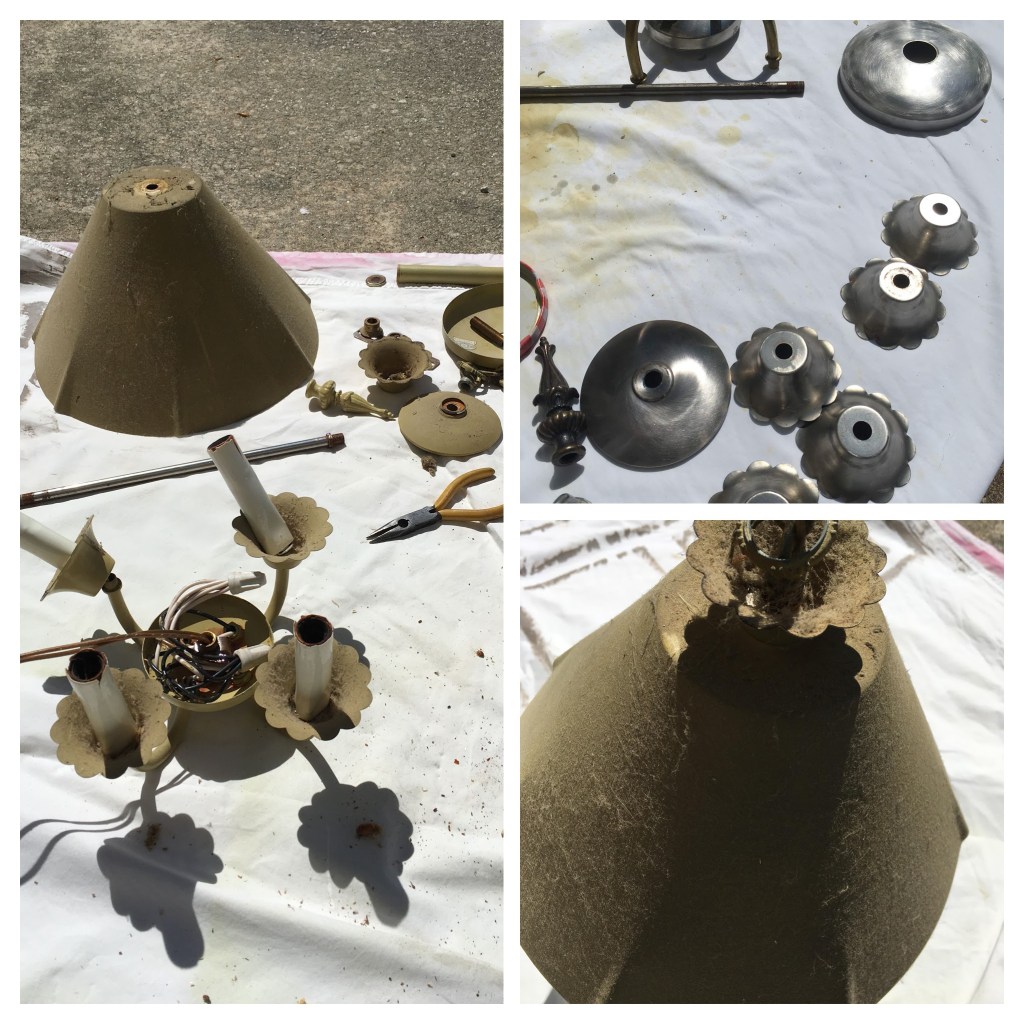
After I dismantled the table, I used paint stripper to remove most of the finish on the top.

I then sanded the top down to bare wood and painted it matte black.

Meanwhile I sanded and primed the legs and lattice shelf (which was no mean feat). My Dremel 3000 with a sanding attachment was invaluable on the lattice work.

My vision really started to take form when I painted the legs and lattice with Rust-Oleum Colonial Red in a gloss finish.

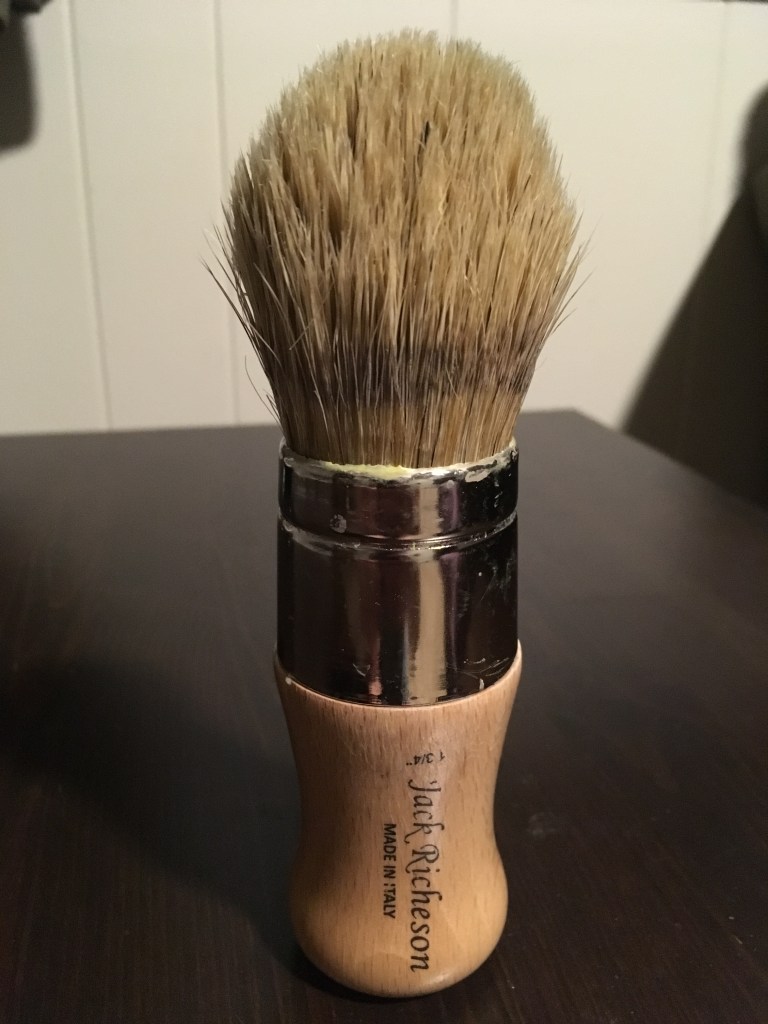
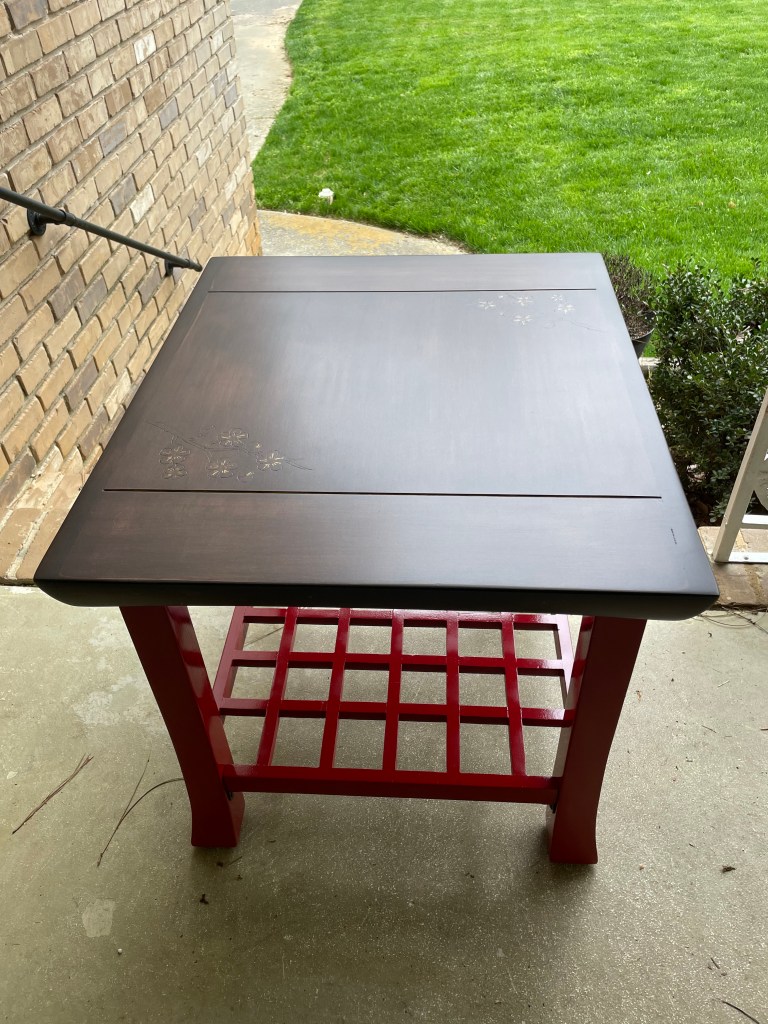
Turning my attention back to the table top, I printed and cut out some cherry blossom clip art. I transferred the image to the matte black surface using a chalk pencil (part tracing the outline and part freehand). Next I used my Dremel Diamond Wheel Point engraving attachment to carve the image into the wood. A coat of Varathane wood stain in Kona darkened the carved wood, and then I picked out some details with Folk Art Treasure Gold 5535.

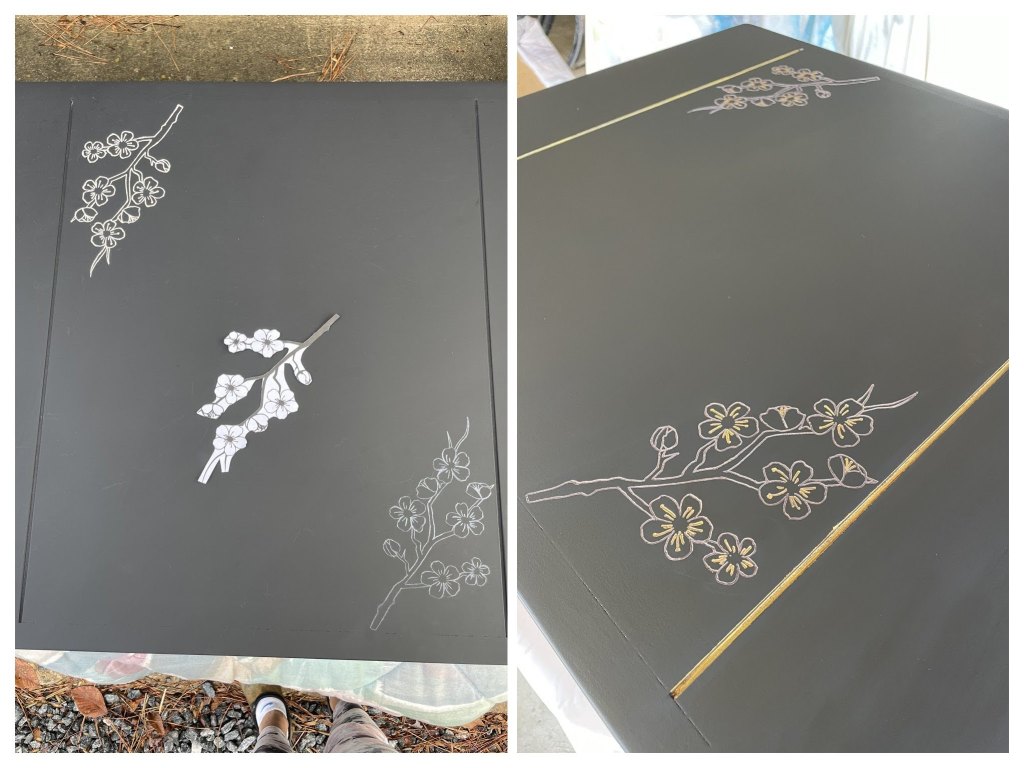
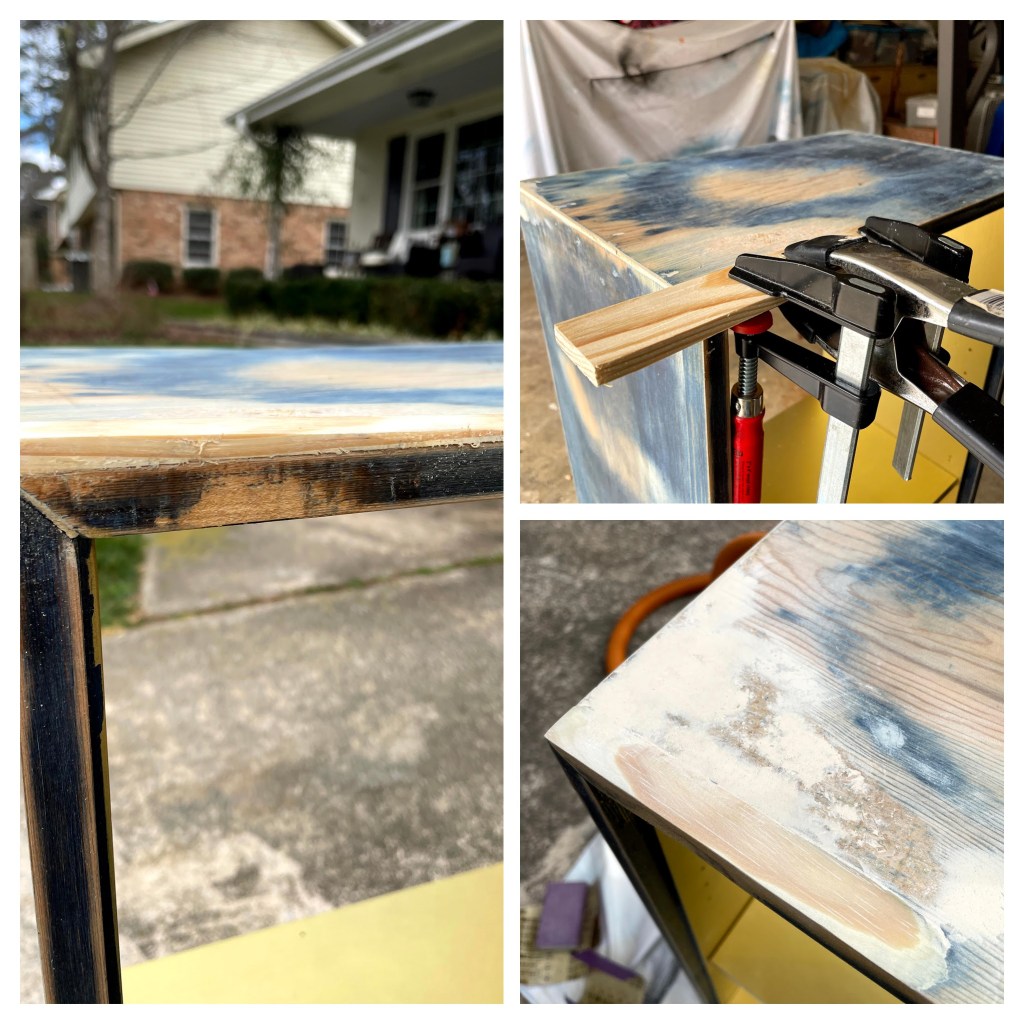
Everything was going perfectly (top right pic), until I applied the final coats of lacquer and it turned blotchy and cloudy.

The only way to remove the blotchy lacquer was to sand back to the bare wood again. Since I didn’t want to paint over the engraving, this time I decided to stain the surface. After three applications of Varathane wood stain in Kona, the top was a lovely rich brown color.

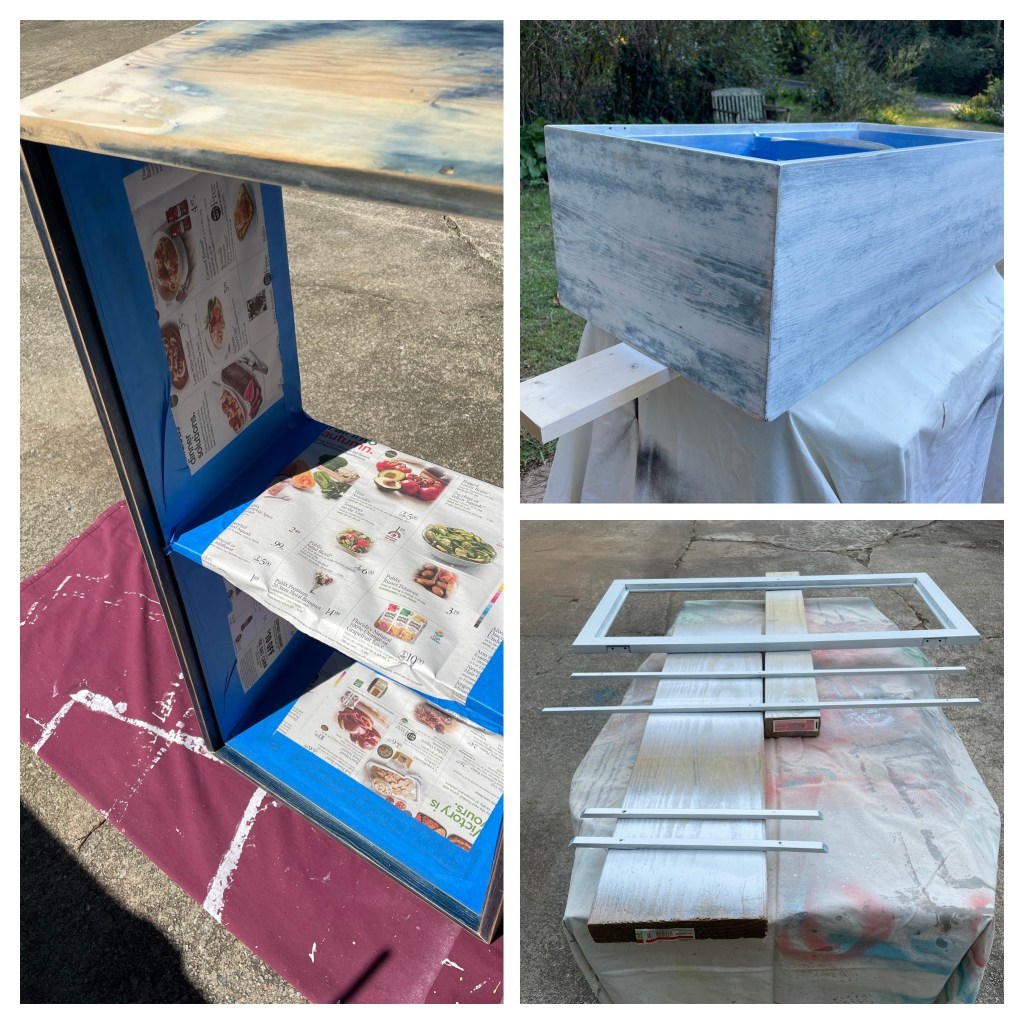
I liked the soft sheen so much I decided to apply wax instead of polyurethane at this point. However, the final coats of wax also looked blotchy, no matter how much I buffed it. It was back to the drawing board again as I removed the wax finish with mineral spirits and re-sanded the surface.

After removing the wax, I needed to stain the surface again and touch up the gold details. When I was satisfied with how it looked, I went with finish #3: Varathane oil-based polyurethane in a satin finish. Finally I had success.

#41 The Nuria cabinet

This was my second collaborative transformation, and the longest of any. I trash-picked this piece in May 2019, Nuria came on board the following year, and we started work in September 2020. It was finished on October 1, 2022! My coworker, Nuria, is a friend whose style has been honed by years of working for one of the most refined hotel chains in the world. Our combined skills were put to the test on this piece that needed a lot of TLC. The result is charming: a one-of-a-kind piece, loaded with designer touches.

Materials used: Rust-Oleum 2X spray primer, Rust-Oleum 2X hight gloss white spray paint, Rust-Oleum Universal Aged Metallic Vintage Gold spray paint, decorative paper, gold finish furniture legs, glass, hardboard, bright brass decorative corners.

What first attracted me to this small cupboard was the leaded lattice glass. Sadly, a pane was missing and the leading was damaged so we ended up discarding it. We knew we also needed to replace the back panel and remove the peeling top coat. We got to work dismantling and sanding.

My two favorite parts of every transformation are the bookends—the initial design process, and the final coming-together of the vision. We started the design process with a trip to a scrap-booking store, where we found a beautiful turquoise paper printed with metallic birds. Replacement glass, some hardboard, gold finish furniture legs, and two different spray paints completed our supplies list.

Painting started on the interior with 2 cans of Rust-Oleum metallic paint in Vintage Gold. The original hardware was cleaned with Bar Keepers Friend.

Next, we needed to level out the uneven base. Simply sanding it meant going through the veneer to chipboard so instead we glued a shim to the corner then trimmed and sanded it.

With the gold-painted interior carefully masked, it was time to start painting the outside and the door with Rust-Oleum 2X white gloss paint.

As has happened on two previous projects, certain areas of the paintwork “wrinkled”. I still don’t understand why this sometimes happens but I can say it is a pain when it does. The only solution was to go back and sand the problem areas, apply primer, and then paint again.

Many weeks later…when all the paint flaws had been ironed out, all that remained was to put the pieces together. We installed a new pane of glass in the door, attached the new, papered hardboard back panel, re-installed the original hardware, added bright brass decorative corners to the top, and attached the new feet.

#37 Tufted cow print ottoman/stool

Materials used: Upholstery fabric, fabric-covered buttons, weed barrier, stuffing, 8″ furniture legs.

Back in February 2019 I picked up a second-rate occasional table made of a plywood top on what looked like a bar stool. I separated the top from the bottom and, in April 2019, transformed the bar stool bottom into a Bistro Table. More than two years later the second part of this 2-part transformation is finally complete! Initially I envisaged transforming this plywood circle into a large, framed mirror but I love it as an ottoman/stool instead.

I began by re-purposing another freebie found on our local Buy Nothing Facebook page: A very large Urban Outfitters floor pillow which yielded four trash bags of upholstery stuffing and enough heavy duty fabric to make a liner.

To get the legs and tufting buttons in the right places, I made a newspaper template.

Once I had cut and sewn the liner and outer cover I inverted them both and stuffed them with the upholstery filling.

I compacted the stuffing by sitting on the plywood while pulling the fabric taut and stapling it. When everything was secured in place I set about doing the tufting armed with some very large upholstery needles and band-aids. The fabric-covered buttons are secured on the back side by tying the thread through a regular button.

The finishing touches were felt pads on the legs and a fitted piece of weed barrier to cover the upholstering and the leg hardware. Who knew that stretchable weed barrier would be as good an alternative to cambric, if not better?

#30 Picture frame jewelry board

Transformation expenses: $35.74

A while ago we hired a dumpster during a landscape project. When neighbors threw in a perfectly good picture frame I grabbed it knowing it would be good for something. Months later some friends and I were browsing quaint shops after a lovely afternoon tea. One friend saw a jewelry board that she particularly liked and I offered to create something similar with this frame.

Keeping costs to a minimum was the biggest challenge on this project. For my design I needed:

  • 5/8″ dowel rod & plywood
  • Leather cord & 1 yd fabric
  • Decorative tacks & cup hooks
  • Wooden decorative appliques

Fortunately I already had these things left over from previous projects:

  • Spray paint
  • Clear, dark & metallic wax
  • Thin batting
  • Beads & craft paper

The frame was rather uninteresting so I embellished it with wooden appliques and a layering of paints and waxes. The frame, appliques and doweling were first painted with Rust-Oleum 2X Ultra Cover in Antique White. I also painted the brass cup hooks with Rust-Oleum Hammered spray paint in dark bronze.

I then applied clear wax, followed by dark wax, followed by Amaco Rub ‘n Buff metallic wax in Spanish Copper.

Meanwhile I wrapped the plywood with thin batting followed by a neutral fabric.

I secured the prepared plywood into the frame using panel pins. I then cut four equal strips of leather cord for hanging earrings. I punched holes in each end of them all and pairs of holes at intervals along two of the strips (for earrings with posts). These were then nailed to the board using decorative tacks and a bead as a spacer. For bracelet storage I attached a length of the painted doweling using the two painted cup hooks. Finally, more decorative tacks function as hangers for necklaces. The back of the frame is finished with craft paper and a pair of D-hooks for hanging.

#25 Mini chandelier birdfeeder

Transformation cost: $12.60

I have my constipated dog to thank for this find. We were taking a long walk to get “things” moving and our route took us past this treasure. A chandelier was TT#1 (Chandelier) and I was excited to find another to work on; they make such good garden decor.

I am convinced this is a vintage piece but I’ve had mixed feedback to my enquiries. The International Brotherhood of Electrical Workers says this fixture was made in Newburgh, New York in October 2013 (according to the serial number). However, Underwriters’ Laboratories Inc. says it must be at least 25 years old because they stopped using that font on their labeling 25 years ago.

As I began cleaning the dismantled piece some of the paintwork dissolved and what was left peeled and cracked. Using acetone, a rag and a toothbrush I was able to remove all the paint completely.

The bare metal parts were now ready for their finish coats of Rust-Oleum 2X Ultra Cover gloss in pink peony. I made sure to reserve some paint for finishing touches after reassembly.

When it came to putting it back together I made a few changes. First I used lock up caps to seal the part of the arm that would have attached to the candle tube. I discarded the canopy and inverted the top bobeche so that rain water wouldn’t pool in it. The hanger loop neatly tops it off. I finished the job by touching up with the remaining paint.

#24 Salzburg mirror

Transformation cost: $24.85

This transformation was made possible by the demise of an earlier one; I was getting ready to give TT#12 (Bevelled mirror with ornate frame) another new look when I accidentally damaged the frame. It was a long shot whether a repair would be possible, so when a neighbor was discarding this piece, I snatched it up. The glass in this piece needed replacing but by a stroke of luck the glass in TT#12 was the exact same size! I was able to use the glass from the damaged frame in the new frame.

In places the mirror coating on this glass was damaged, so I began by removing it from the frame.

I then cleaned the back and front of the frame, including removing the pasted-on backing paper and the black adhesive/caulk that had been used to attach the glass.

A couple of coats of Kilz primer were followed by two coats of the same Benjamin Moore satin latex paint I used on my dining room walls.

Gloss lacquer over the paint gave the frame the finish I was looking for.

Finally it was time to put glass back into the frame. A thin layer of cardboard and a new piece of hardboard atop the glass are kept in place with glazing points and panel pins; no need for glue or caulk. A second piece of thicker cardboard pads out the rest of the space and is finished off with some craft paper and hangers.

5 things I’ve learned about chalk painting

Although I’ve been painting walls and furniture almost all my life I’m a beginner when it comes to chalk paint. It turns out that applying chalk paint (as long as it’s not to a glider rocker) is some of the most fun I’ve had in a long time. Here are some top tips I’ve already learned:

Disclaimer: These observations are made humbly in the knowledge that there are about a gazillion people out there with tons more chalk painting expertise. Some, if not all, of this might not apply to larger, more complex projects.

1. Invest in a good brush

So you won’t be picking bristles out of your paint job every 10 seconds.

2. Use a wax brush

Even though you might read that chalk paint can be applied with any brush just go ahead and use a wax brush. Trust me.

UPDATE: Since this was originally posted nearly 2 years ago I have used both a regular brush and a roller to apply chalk paint. Both worked perfectly well; a roller works particularly well on large, flat surfaces such as the Sophia desk. So now you have to ask yourselves if you can really trust me at all!

3. Work it

Now you’re ready to apply the paint, it’s time to unleash your inner child. Using your lovely rounded wax brush you’re going to want to work that paint into every nook and cranny in a process I can best describe as daubing. Cast your mind back to preschool when you stood in front of an easel, wearing a cute apron and holding a big, fat paintbrush ready to paint your best sunflower. Now daub! About the only thing you can do wrong here is to cause runs by applying too much paint so just don’t overload your brush.

4. Don’t stop at 2

The first coat will look crappy. You will again be reminded of your preschool days. The second coat will look so good in comparison you will think you’ve nailed it. Don’t stop, though; go ahead and apply a third coat. You won’t regret it.

5. Wax on, wax off

Chalk paint needs a protective finish. Although there’s no law written that it must be wax, I like to finish my chalk paint projects with 2 or 3 coats of wax. If you just want to enhance the color then use a clear wax. If you want to add contrast or highlight features in the wood then use a pigmented wax (but still start with a coat of clear wax; it makes the pigmented wax easier to work with) . The more sheen you want, the more you need to buff each coat after it has dried.

#17 Lampshade hanging baskets

Transformation cost: $31.18

Despite knowing right away what I wanted to do with them it has taken over a year to get around to it. Although the shades were intact they were quite badly stained and were ready for a new lease of life. This transformation was fairly pricey but for a pair of hand-crafted baskets that will add character to my garden I think it was worth it. I can hardly wait to see them overflowing with flowers this summer 😍.

My first job was to strip the shades down to the bare metal frame. After removing all the fabric I was left with binding tape firmly attached to the top and bottom rims. Soaking it in water softened the glue enough to pull off the tape and get the frame clean.

Using branches as paint stands,  I applied several coats of Rust-Oleum Metallic Antique Brass to the shades.
I chose this color to match the artisan wire I would be using later.

Now I needed to add more structure to the frames to support the coco liners, soil and plants that would go inside. I attached two strands of 18 gauge antique brass artisan wire to the frames; one at the top and one at the bottom. By repeatedly drawing the two wires together in middle, threading them through a ceramic bead then wrapping them back around the rims, I created a diamond pattern with a bead in the center of each opening.

To finish them off I made bases by cutting discs from leftover pegboard. This will hopefully stop the bottom from falling out when they are planted. Finally I added black hanging chains found at Dollar Tree.

#15 Bulldog bulletin board

Transformation cost: $19.12

Having abandoned a sports theme on another project I decided to do it on this bulletin board instead.

I began by printing two copies of a Georgia Bulldog image and spray gluing them onto contact paper. I then used a craft knife to cut out all the black areas on one image and all the red areas of the other to create two different templates. I was careful to include “bridges” on the black template so it would hold together until it was on the board

Next I applied the black template to the center of the cork board, masked off the remaining area and sprayed several coats of Krylon Short Cuts Flat Black spray paint.

When the black paint was dry I covered all but the frame.
After priming I applied several coats of Krylon Short Cuts Gloss in Red Pepper.

Now it was time to add more red. I applied the red template over the previously painted bulldog. Then I divided the corkboard into three equal width vertical stripes. With the frame and the center strip (except the template) masked, I applied several coats of Krylon matte Poppy Red spray paint.

I finished by strengthening the flimsy frame with L-brackets at each corner and some additional staples to secure the cork inside the frame.

#13 Sash window picture frame

Transformation cost: $30.62

This window was truly a labor of love. After 10 months in my gazebo it finally got the attention it deserved but it took a very long time to remove the panes of glass, scrape away old putty and sand the woodwork. On a positive note, the multiple layers of paint that had been applied over the years offered up a rich layering effect when it was heavily distressed.
Having recently paid $$$s for a couple of professional framing jobs this transformation was well worth the effort!

The first job was to painstakingly remove the hardware, metal stripping and all 6 panes of glass.
Only 4 of the panes survived!

With the wood frame stripped of all its accessories it was time for the first good scrub with a weak soap solution to remove months of build up.

Starting with 80 grit and finishing with 220 grit sandpaper I distressed the clean frame. I wanted to keep a rustic look to the piece and didn’t intend to apply any paint so I worked to expose all the different layers of paint and some of the wood. Once I had the look I was after I gave the piece a second, final clean before sealing it with a coat of
Rust-Oleum Satin Clear Enamel.

I bought a multi-pack of matte boards with 8 x 10 openings and cut them to fit the pane openings. Two panes of glass from Ace Hardware and 6 pieces of hardboard cut by my husband rounded out my supply list for this project. I was ready to put it all together.

In each opening I secured glass, photo, matte board and hardboard using glazier points. A couple of d-ring hangers were added to the frame for hanging.