#24 Salzburg mirror

Transformation cost: $24.85

This transformation was made possible by the demise of an earlier one; I was getting ready to give TT#12 (Bevelled mirror with ornate frame) another new look when I accidentally damaged the frame. It was a long shot whether a repair would be possible, so when a neighbor was discarding this piece, I snatched it up. The glass in this piece needed replacing but by a stroke of luck the glass in TT#12 was the exact same size! I was able to use the glass from the damaged frame in the new frame.

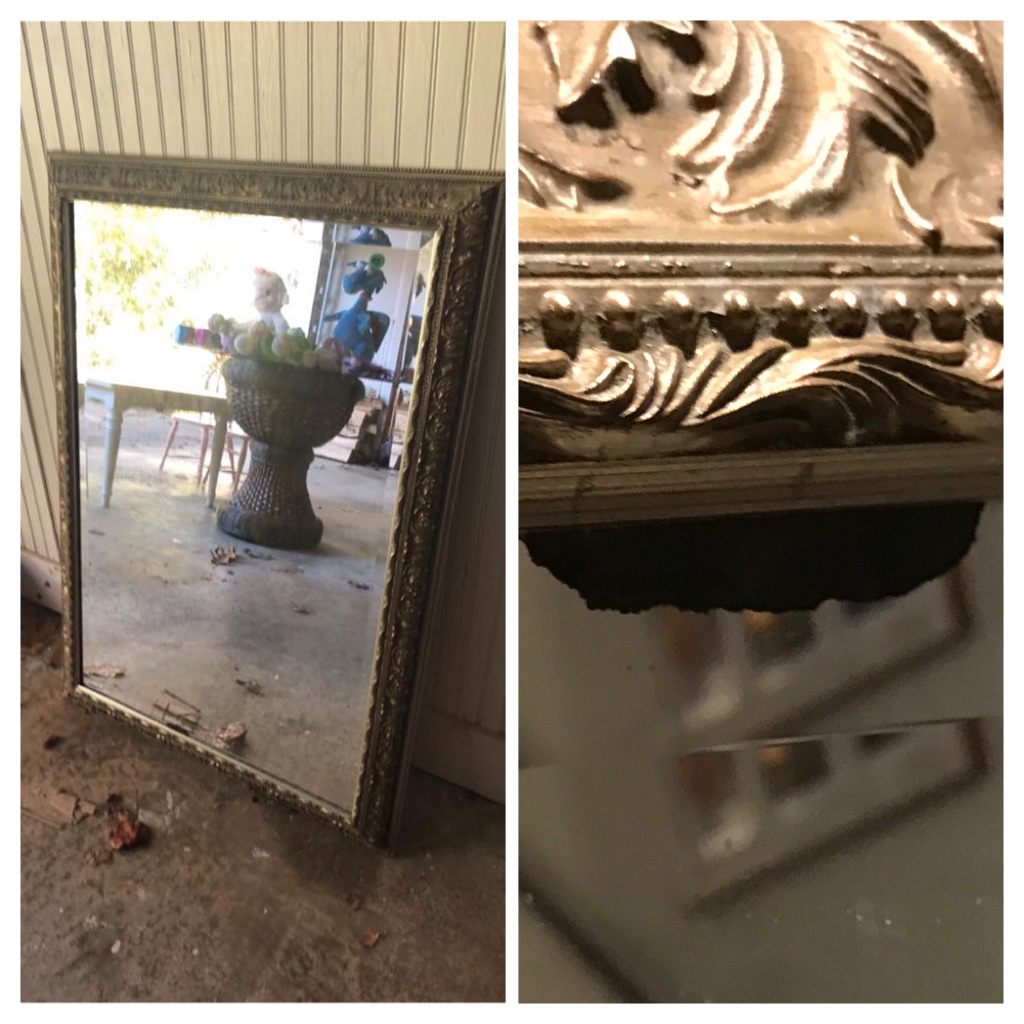
In places the mirror coating on this glass was damaged, so I began by removing it from the frame.

I then cleaned the back and front of the frame, including removing the pasted-on backing paper and the black adhesive/caulk that had been used to attach the glass.

A couple of coats of Kilz primer were followed by two coats of the same Benjamin Moore satin latex paint I used on my dining room walls.

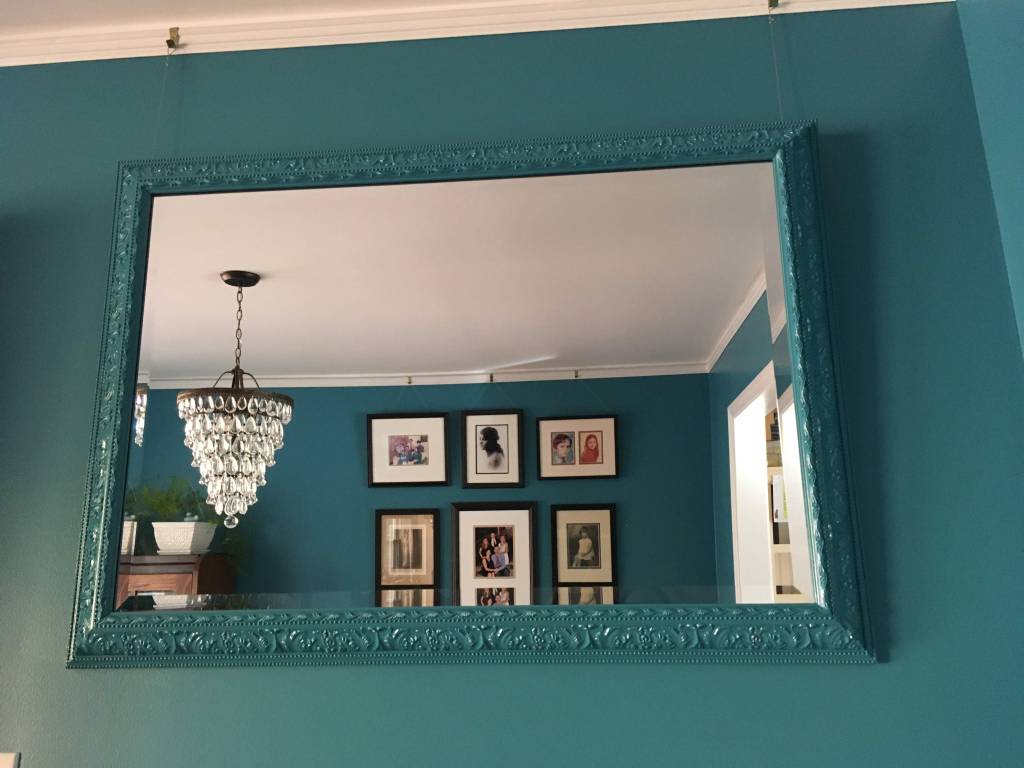
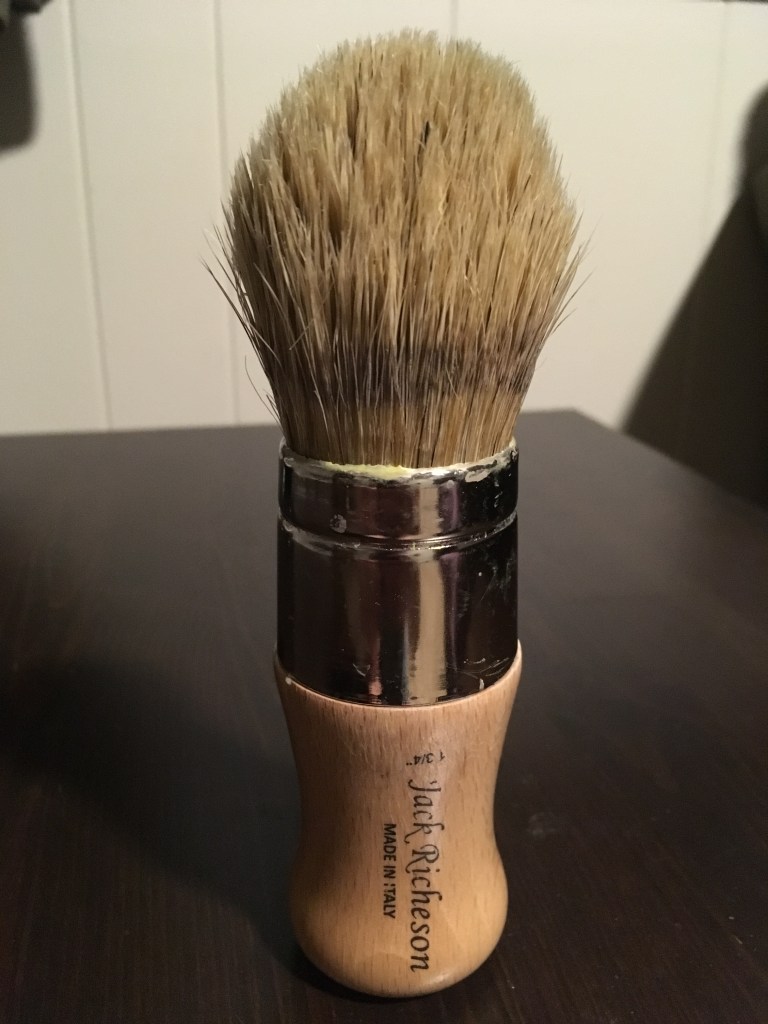
Gloss lacquer over the paint gave the frame the finish I was looking for.

Finally it was time to put glass back into the frame. A thin layer of cardboard and a new piece of hardboard atop the glass are kept in place with glazing points and panel pins; no need for glue or caulk. A second piece of thicker cardboard pads out the rest of the space and is finished off with some craft paper and hangers.

5 things I’ve learned about chalk painting

Although I’ve been painting walls and furniture almost all my life I’m a beginner when it comes to chalk paint. It turns out that applying chalk paint (as long as it’s not to a glider rocker) is some of the most fun I’ve had in a long time. Here are some top tips I’ve already learned:

Disclaimer: These observations are made humbly in the knowledge that there are about a gazillion people out there with tons more chalk painting expertise. Some, if not all, of this might not apply to larger, more complex projects.

1. Invest in a good brush

So you won’t be picking bristles out of your paint job every 10 seconds.

2. Use a wax brush

Even though you might read that chalk paint can be applied with any brush just go ahead and use a wax brush. Trust me.

UPDATE: Since this was originally posted nearly 2 years ago I have used both a regular brush and a roller to apply chalk paint. Both worked perfectly well; a roller works particularly well on large, flat surfaces such as the Sophia desk. So now you have to ask yourselves if you can really trust me at all!

3. Work it

Now you’re ready to apply the paint, it’s time to unleash your inner child. Using your lovely rounded wax brush you’re going to want to work that paint into every nook and cranny in a process I can best describe as daubing. Cast your mind back to preschool when you stood in front of an easel, wearing a cute apron and holding a big, fat paintbrush ready to paint your best sunflower. Now daub! About the only thing you can do wrong here is to cause runs by applying too much paint so just don’t overload your brush.

4. Don’t stop at 2

The first coat will look crappy. You will again be reminded of your preschool days. The second coat will look so good in comparison you will think you’ve nailed it. Don’t stop, though; go ahead and apply a third coat. You won’t regret it.

5. Wax on, wax off

Chalk paint needs a protective finish. Although there’s no law written that it must be wax, I like to finish my chalk paint projects with 2 or 3 coats of wax. If you just want to enhance the color then use a clear wax. If you want to add contrast or highlight features in the wood then use a pigmented wax (but still start with a coat of clear wax; it makes the pigmented wax easier to work with) . The more sheen you want, the more you need to buff each coat after it has dried.