#20 Bar stool bistro table

Transformation cost: $26.05

Part 1 of a 2-part transformation this bar stool-looking thing was acting as base for a larger, round table top. It could have become many things but its fate was sealed when I temporarily stored it on my front porch and realized it is perfect as the bistro table we needed. I probably could have bought a small table for about the same price but this way I have the satisfaction of knowing I made it and it didn’t get trashed! Part 2 will be the transformation of the table top piece.

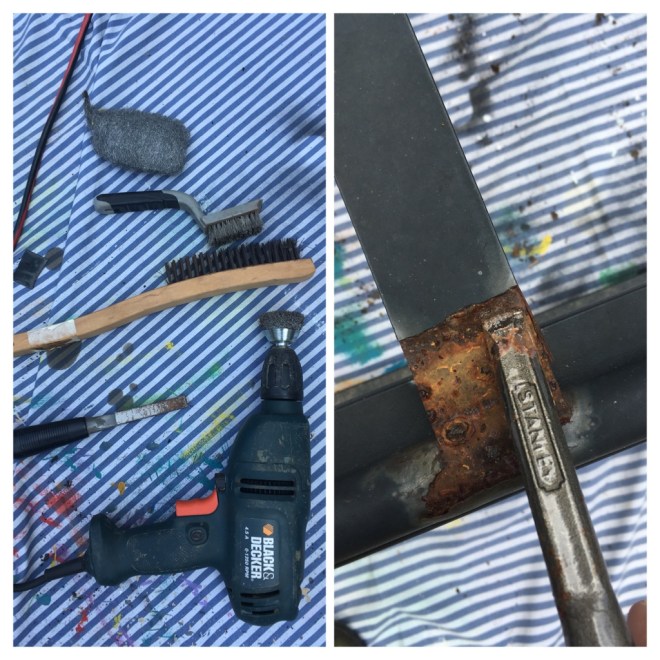
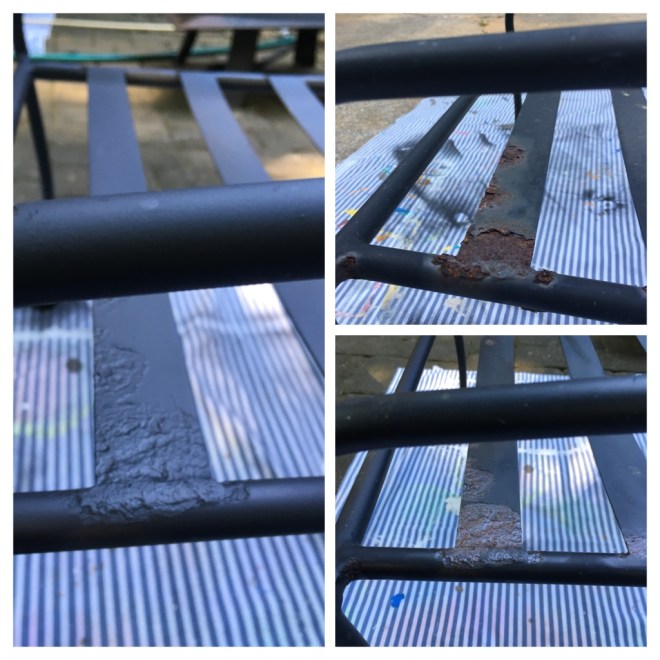
Once separated from the particle board table top this base was ready for its stand-alone transformation. After sanding and cleaning, the legs were ready for a paint finish that would complement our porch furniture and decor.

I chose Rust-Oleum metallic oil-rubbed bronze because I had previously used it to freshen up our porch light casings. NOTE TO SELF: This paint clogs easily and I wasted some partial cans because they would no longer spray.

Once I had created a paper template for the top I was ready to take the tiling plunge. I started by sticking a single row of tiles to the rim. Meanwhile I laid out the design for the top on my paper template. I used wheeled mosaic nippers to cut some square tiles in half for the center of the design.

I let the rim dry for 24-hours before I applied the tile design to the top of the table. The old table top and some cookbooks made a handy weight to encourage everything to set level.

The next day I grouted everything with a pre-mixed grout in alabaster color.

To finish the top I applied one coat of mosaic grout sealer to protect against red wine and coffee!

The finished piece goes perfectly on our front porch and is just the right size for front porch essentials!

#19 Glider rocker with ottoman

Transformation cost: $73.51 (which includes $16.21 for the throw pillow)

Without doubt this was the most challenging and time consuming project I have worked on so far. Were it not for these two things I might have quit: 1) I had a special client: A dear friend’s daughter who is expecting the family’s first grand-baby 2) I never quit! I’m really a very stubborn person and when I start something I am pretty determined to see it through. There were times when I wasn’t sure I could finish it in time or to the standard I like to set. In the end my perseverance paid off and when it all came together I finally fell in love with the piece.

When I saw that a neighbor was discarding this furniture set I quickly thought of my friend’s expectant daughter. A little research showed that it was a project worth doing; a similar piece by this manufacturer would retail for >$400.

Apart from worn out cushion covers, some slats missing from the ottoman, and some scuffed paintwork, the piece was generally in good condition. The only repair it needed was to a crossbar on the chair.

The theme for this piece was to be “Winnie The Pooh” with a yellow, gray and white color scheme. In the end I went with Annie Sloan chalk paint (not the paint pictured here) in English Yellow.

First order of the day was a thorough cleaning with a weak soap solution. Although you don’t have to sand a surface before applying chalk paint I did smooth out some blemishes in the paint finish and sand the very polished factory finish on the arms of the chair.

It transpired that painting a glider rocker and ottoman is nigh on impossible. Fortunately I’m always up for a challenge but my resolve did waver as I painstakingly applied coat after coat after coat. Fortunately by the third coat (which I applied with a wax brush rather than the regular paintbrush I had been using) I got the uniform look I was aiming for.

But the ordeal was not over! I still needed to add 2 coats of clear wax to give protection and a lovely sheen to the finish.

Once the painting was complete my husband added the slats that were missing from the ottoman

To replace the cushion covers I used the old, unpicked covers as a pattern guide for the new fabric. A brand new throw pillow in the feature fabric brings together all the colors of the piece.

#18 Rocking chair

Transformation cost: $26.53

This was a bittersweet transformation; on the one hand it was slightly heartbreaking to eradicate the bespoke finish that had been lovingly and expertly applied by a parent; on the other hand the chair was ready to move on and it rocks its new sophisticated, tropical look.

Since the previous finish was a textured one, it first needed a thorough sanding. Without spending days on it I wanted to get the surface as smooth as possible as it would be getting a gloss finish that would show every little defect. After sanding with three different grit papers I gave the chair a good clean with a mild detergent solution.

Beginning with the underside I started applying Rust-Oleum UltraCover spray paint in gloss hunter green. When several coats were thoroughly dry I applied felt pads to the rockers to protect the finish and any flooring it would eventually stand on.

When I started painting the topside my fears were realized. Despite having done what I’d hoped was enough sanding, the outline of the ducks was still visible through the new finish. More sanding and more coats of paint did the trick. Ducks gone!

With the paintwork complete I now needed to revamp the cushion. Using the unpicked old cover as a pattern I cut and sewed a fashionable indoor/outdoor palm print fabric into a new cover.

When chair and cushion were re-united my vision was realized

#17 Lampshade hanging baskets

Transformation cost: $31.18

Despite knowing right away what I wanted to do with them it has taken over a year to get around to it. Although the shades were intact they were quite badly stained and were ready for a new lease of life. This transformation was fairly pricey but for a pair of hand-crafted baskets that will add character to my garden I think it was worth it. I can hardly wait to see them overflowing with flowers this summer 😍.

My first job was to strip the shades down to the bare metal frame. After removing all the fabric I was left with binding tape firmly attached to the top and bottom rims. Soaking it in water softened the glue enough to pull off the tape and get the frame clean.

Using branches as paint stands,  I applied several coats of Rust-Oleum Metallic Antique Brass to the shades.
I chose this color to match the artisan wire I would be using later.

Now I needed to add more structure to the frames to support the coco liners, soil and plants that would go inside. I attached two strands of 18 gauge antique brass artisan wire to the frames; one at the top and one at the bottom. By repeatedly drawing the two wires together in middle, threading them through a ceramic bead then wrapping them back around the rims, I created a diamond pattern with a bead in the center of each opening.

To finish them off I made bases by cutting discs from leftover pegboard. This will hopefully stop the bottom from falling out when they are planted. Finally I added black hanging chains found at Dollar Tree.

#16 Lyrical bar stools

Transformation cost: $19.47

I love it when a piece is commissioned; it brings about an outcome that often is not my first vision. These stool are a case in point. I initially envisaged these with a sports theme but when my client wanted musical instruments, and a nod to her husband’s Irish heritage, the idea of wood-burning was born. Beyond just a few characters I had never done wood-burning before but now I’m hooked!

I began by removing the finish from the tops of the stools to create
clean backdrops for the wood-burned images

Next I cleaned and sanded the legs. A previous sloppy paint job had left patches of white paint on the underside of the seat. Rather than try to remove them and then refinish the wood I decided to paint over them. I used painters tape to mark out geometric shapes then sanded those areas too. After several coats of Krylon Gloss Emerald Green spray paint (what better color for someone whose ancestors are from the “Emerald Isle”?) the legs were almost finished.

As a finishing touch (to make the stools more hard-wearing) I used vinyl tubing to cover the lower stretchers. I simply cut pieces the length of the stretcher, made a slit the full length of the piece then wrapped it around the painted wood.

Now I turned my attention to the seats. I created transfers by tracing printed images (embellished with some of my own artwork) onto parchment paper. Another nod to Ireland was adding the shamrock to the drum set image and the Celtic symbol for family to the guitar. Once the reverse side was also traced (so I wouldn’t transfer a mirror image) I transferred the designs onto the stool tops.

To finish the seats I applied 3 coats of oil-based, clear, gloss polyurethane for maximum protection.

#15 Bulldog bulletin board

Transformation cost: $19.12

Having abandoned a sports theme on another project I decided to do it on this bulletin board instead.

I began by printing two copies of a Georgia Bulldog image and spray gluing them onto contact paper. I then used a craft knife to cut out all the black areas on one image and all the red areas of the other to create two different templates. I was careful to include “bridges” on the black template so it would hold together until it was on the board

Next I applied the black template to the center of the cork board, masked off the remaining area and sprayed several coats of Krylon Short Cuts Flat Black spray paint.

When the black paint was dry I covered all but the frame.
After priming I applied several coats of Krylon Short Cuts Gloss in Red Pepper.

Now it was time to add more red. I applied the red template over the previously painted bulldog. Then I divided the corkboard into three equal width vertical stripes. With the frame and the center strip (except the template) masked, I applied several coats of Krylon matte Poppy Red spray paint.

I finished by strengthening the flimsy frame with L-brackets at each corner and some additional staples to secure the cork inside the frame.

#14 Heritage “Cameo II” end table

Transformation cost: $17.82

When my friend Renate saw this piece roadside she instantly contacted me and I rushed to pick it up. At first glance I knew it was a beautiful, quality piece and, on further investigation I was validated. Made in May 1976 by Heritage furniture in Drexel, NC it was part of the Cameo II collection. The catalog boasts: “Superb fruit-wood finishes complement rich grafted and pin knotty walnut veneers and pecan solids”. The pieces in the collection were originally sold in either a wood or a custom (painted) finish. Knowing that made me less reluctant to apply some paint to the piece.

The table top had some nasty water/paint/crayon marks so I began by removing the finish on the top.

Next I gently sanded the top and wiped it with a damp cloth.
The rest of the table got a light sanding and a cleaning with a mild soap solution.

After meticulously masking certain areas, the piece was ready to paint.

Starting with the underside I applied 3-4 coats of Rust-Oleum 2X Ultra Cover in Heirloom White, satin finish.
Once upright the rest of the piece got the same treatment.

I then gently distressed the Heirloom White finish and sealed it with Rust Oleum Satin Clear Enamel

To finish the top I applied 3 coats of a clear gloss oil-based polyurethane. The grain of the walnut veneer came up beautifully!

#13 Sash window picture frame

Transformation cost: $30.62

This window was truly a labor of love. After 10 months in my gazebo it finally got the attention it deserved but it took a very long time to remove the panes of glass, scrape away old putty and sand the woodwork. On a positive note, the multiple layers of paint that had been applied over the years offered up a rich layering effect when it was heavily distressed.
Having recently paid $$$s for a couple of professional framing jobs this transformation was well worth the effort!

The first job was to painstakingly remove the hardware, metal stripping and all 6 panes of glass.
Only 4 of the panes survived!

With the wood frame stripped of all its accessories it was time for the first good scrub with a weak soap solution to remove months of build up.

Starting with 80 grit and finishing with 220 grit sandpaper I distressed the clean frame. I wanted to keep a rustic look to the piece and didn’t intend to apply any paint so I worked to expose all the different layers of paint and some of the wood. Once I had the look I was after I gave the piece a second, final clean before sealing it with a coat of
Rust-Oleum Satin Clear Enamel.

I bought a multi-pack of matte boards with 8 x 10 openings and cut them to fit the pane openings. Two panes of glass from Ace Hardware and 6 pieces of hardboard cut by my husband rounded out my supply list for this project. I was ready to put it all together.

In each opening I secured glass, photo, matte board and hardboard using glazier points. A couple of d-ring hangers were added to the frame for hanging.

#12 Bevelled mirror with ornate frame

Transformation cost: $7.93

When a friend was discarding this mirror I initially resisted the urge to bring it home. However, I couldn’t stop thinking about the potential of this piece. With a weakened resolve I went back the next day to lift it from her driveway. This mirror originally had a gilded frame that had been painted matte black, perfect for adding depth and layering to the finish!

After a thorough cleaning (a toothbrush was a real necessity for this piece) I protected the mirror glass with newspaper

Once clean the first coat I applied was Rust-Oleum Metallic Silver specialty metallic paint

Following the Metallic Silver I began adding coats of Rust-Oleum 2X Ultra Cover in Heirloom White satin finish.
After spraying each coat I used a rag to wipe the paint off the raised parts of the frame.

After 3 coats of Heirloom White (each one followed with wiping) I had the look I wanted: A varied, layered look that (in places) goes all the way down to the original gilded finish.
The finishing touch was to apply some clear wax which I then buffed with a clean, dry rag to give some sheen.

#11 Wrought iron garden chairs & footstools

Transformation cost: $23

These two chairs with footstools were curbside in a friend’s neighborhood when she texted me a photo. The conversation (which she started at 9:00 a.m.) went like this:

I justified my weak willpower by thinking I might keep these chairs for my own patio. However when I looked into buying cushions for them it looked cost prohibitive. Fortunately my dear friend Lori did a better job of finding affordable upholstery and claimed them for herself.

I began by having my husband assess the state of the furniture. A few swift kicks confirmed that, despite the rust spots, it was all still structurally sound. Using a chisel and various wire brushes I removed all the loose coating & rust.

After cleaning everything with a weak solution of soap and water I applied a coat of Rust-Oleum Rust Reformer to the spots where there had been rust.

Already the rust spots were starting to look a lot better. (Top right: original, bottom right: after being scraped and brushed, left: after painting with Rust Reformer).

The finishing touch was to add several coats of Rust-Oleum flat black enamel.

Catching the morning sun on a neighbor’s deck