
Transformation cost: $30.07 (disclaimer at bottom of page)
Ordinarily I would not take on a piece this big due to space restraints. However when my son moved into a student apartment, taking his bed with him, we found ourselves with a guest bed void at the same time that a neighbor was discarding this piece. It turns out this bed has a delightful history: Apart from being the owner’s childhood bed it also accompanied her and her husband to England when he was stationed there for a while. It seems fitting for an Englishwoman to be responsible for its make-over.
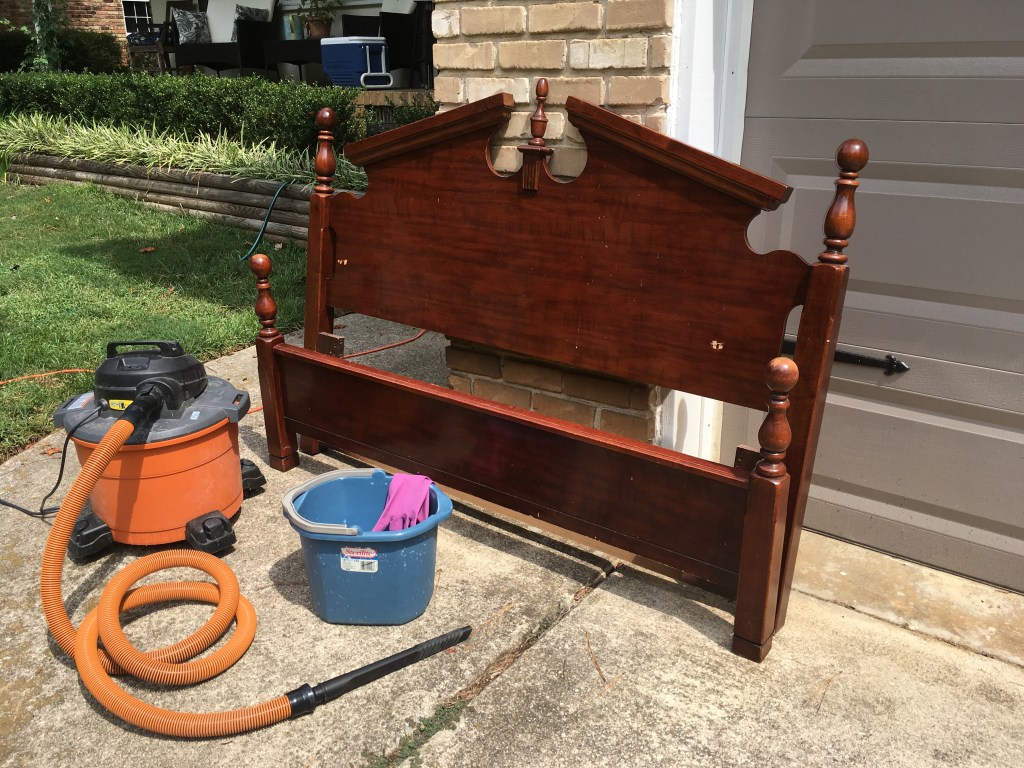
Step 1: The habitual cleaning.

Step 2: Sanding. Although sanding is not necessary when using chalk paint, this piece had some chips and dents that I wanted to smooth out.

Step 3: Painting. Once the piece was properly prepped I began applying Annie Sloan’s Paris Grey chalk paint.

Step 4: Distressing. After 3 coats of chalk paint I used fine sandpaper (400 grit) and a light touch to GENTLY distress the contoured parts of the bed. I deliberately was not heavy handed because I want this piece to look like it belongs in a chateau not a farmhouse.

Step 5: Waxing. I then applied 2 coats of clear wax, buffing after each coat. The piece now has a lovely waxy sheen instead of a flat finish. Isn’t it amazing how different this grey looks in the morning light?

The very last thing I did was to go back with some dark wax to add a trace more texture. You can barely see the darker wax which was my intention; again I didn’t want it looking too rustic. Applying dark wax so lightly is not as straightforward as you might think. When it first goes on it is very distinct. The way to cut it back is to have some clear wax and a clean, dry cloth on hand. Once the dark wax is on use a different brush to apply clear wax on top and blend. If there is still more distinction than you want take the cloth and simply rub it off until you get the coverage you want.

DISCLAIMER: The cost shown above is the cost to me which (especially on chalk paint projects) is often less than market price. This is because I always have left-over materials from previous projects. For example: On this piece I used a negligible amount of Annie Sloan dark wax that I already had. The cost of a small can of that wax is $17 but I did not factor it into this project.


