#45 Victorian Eastlake chair

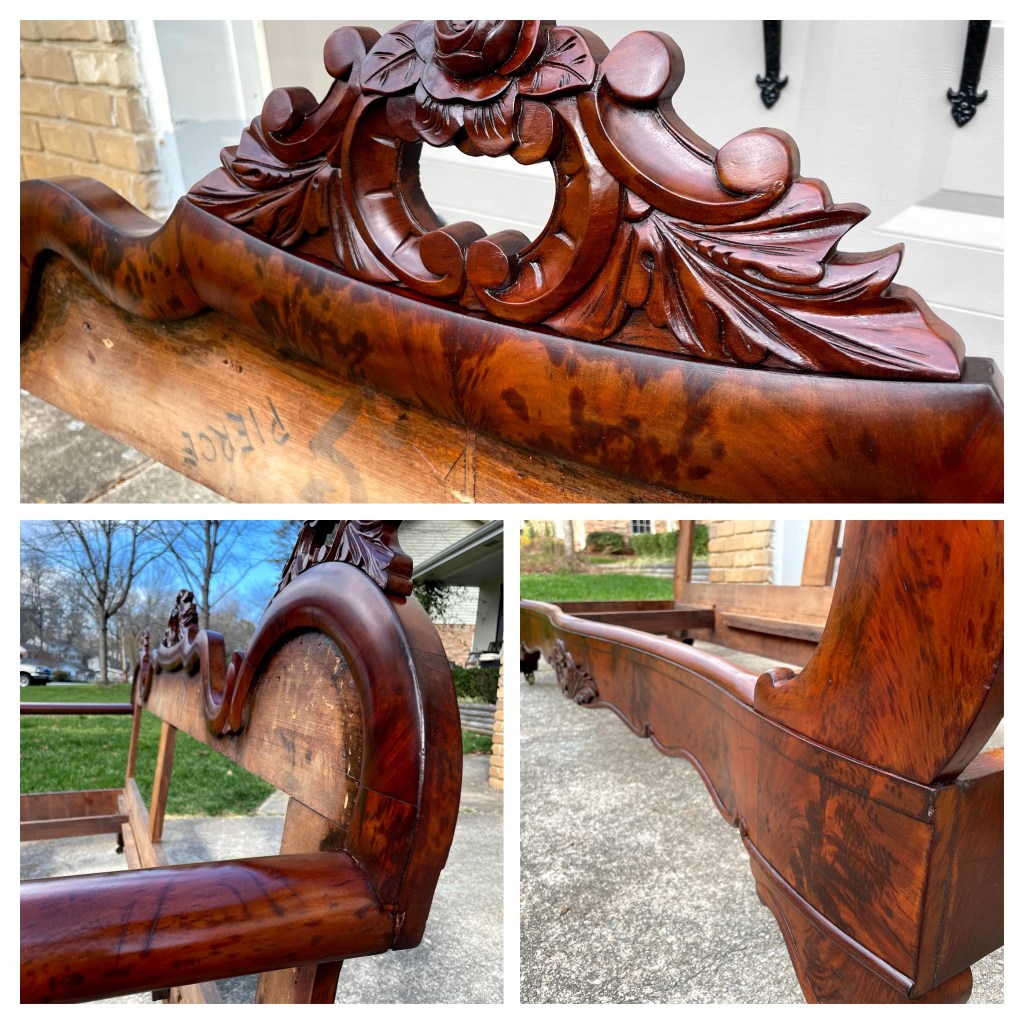
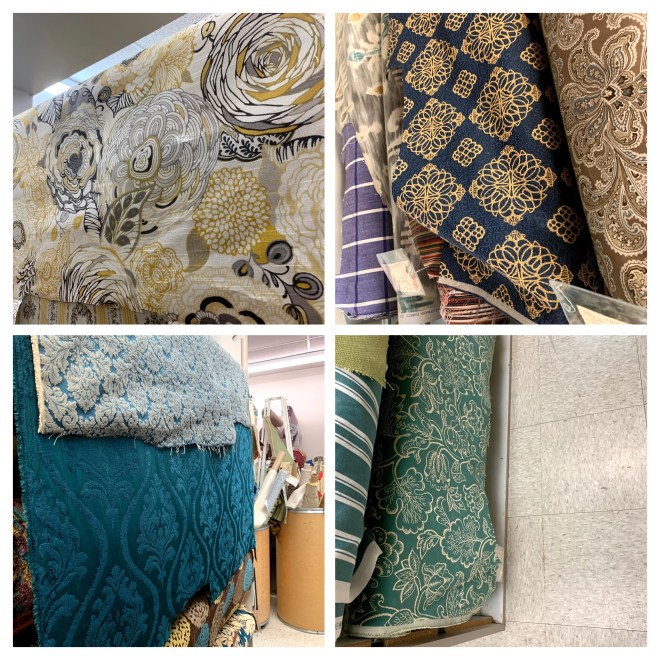
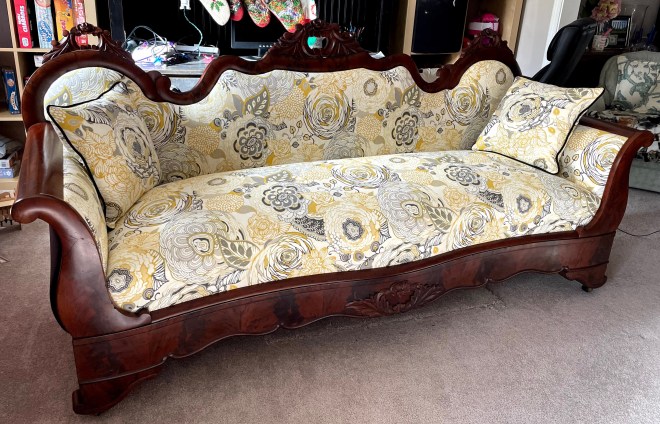
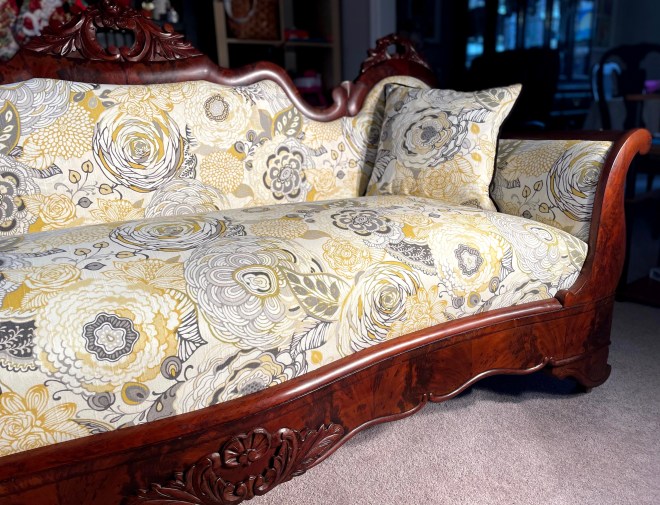
Back in October 2022, a friend of a friend was wanting to clear some antiques from her basement and she decided to give me 1st dibs. Initially I sadly declined everything because I had neither the space to store them nor the time to work on them, but I couldn’t get this chair off my mind. It needed to be professionally reupholstered and, before I would commit, I wanted to find someone willing to invest in it. Fortunately I didn’t have to look far; a Transforming Trash regular stepped up to make this a companion piece to the Victorian sofa that was Transformation #34

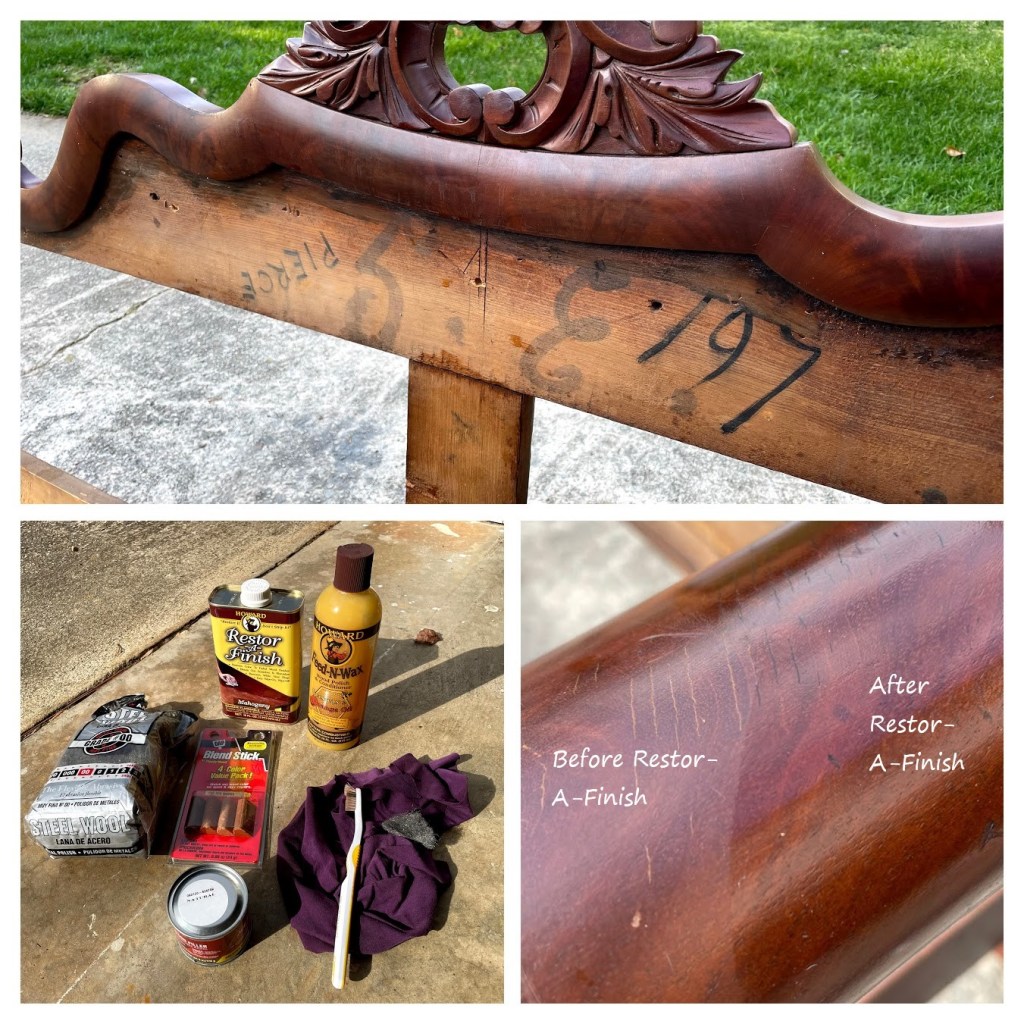
Materials used: Howard Restor-A-Finish, Howard Feed ‘N’ Wax

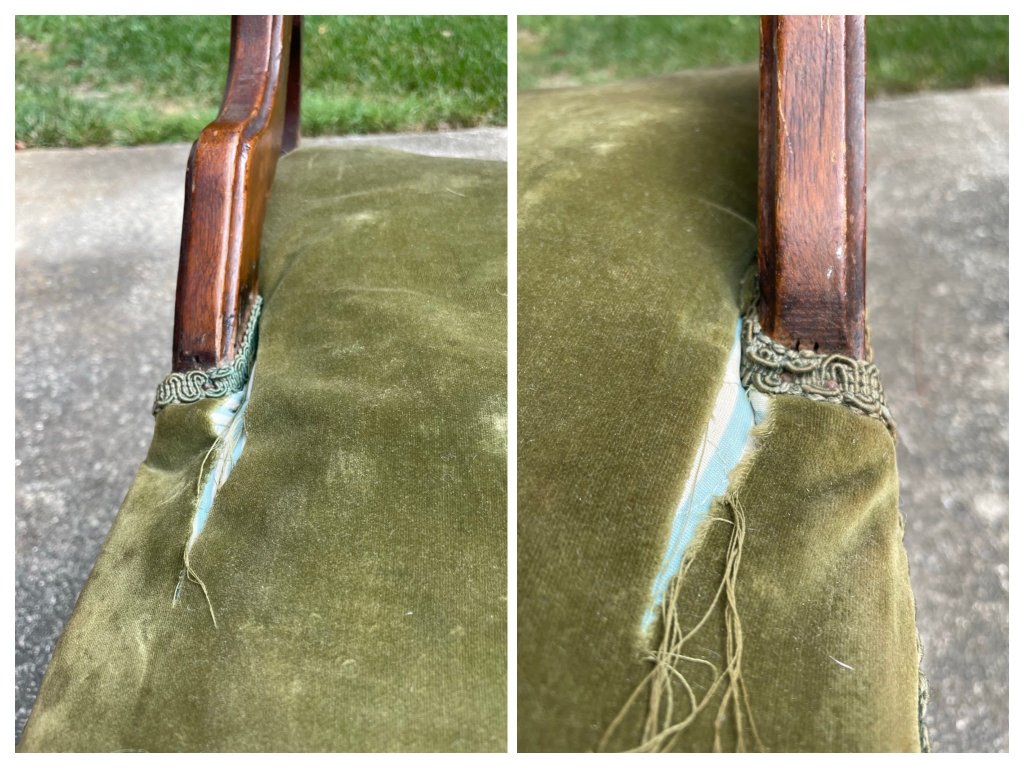
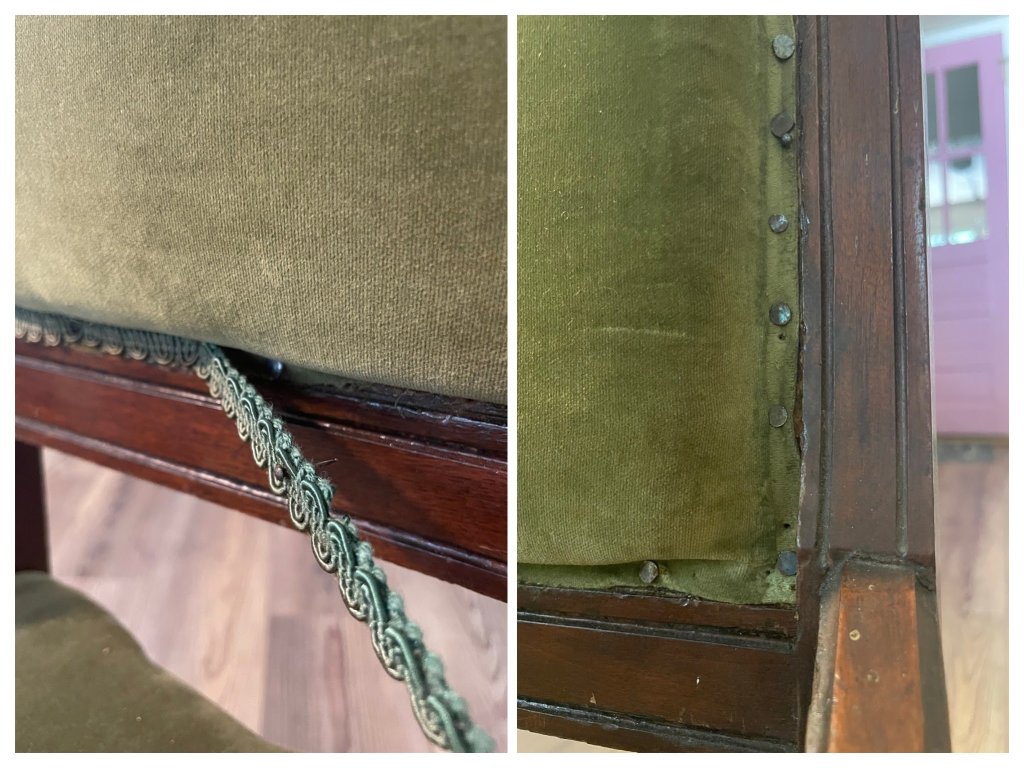
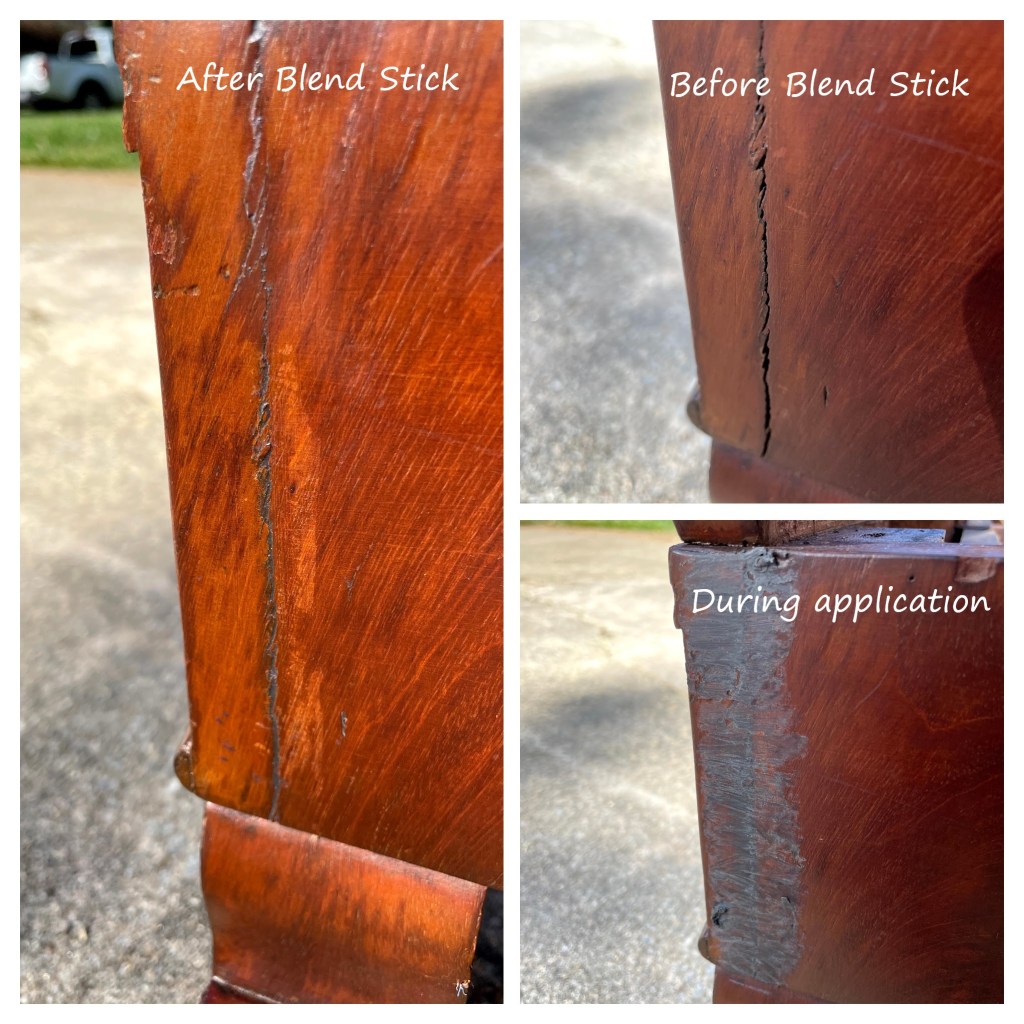
The woodwork on this chair was dull, dirty and a little scratched but generally in good shape; there were no cracks, repairs or missing pieces. The upholstery, however, was very worn and needed to be professionally replaced. Before I started restoring the woodwork I removed the original trim.

To clean, brighten, and restore the wood, I turned to one of my favorite products: Howard Restor-A-Finish (mahogany). No matter how many times I use this product I am always surprised what a difference it makes. This picture compares before (right leg) and after (left leg) using Restor-A-Finish.

Per the instructions I always follow Restor-A-Finish with Howard Feed ‘N’ Wax. The results are spectacular!

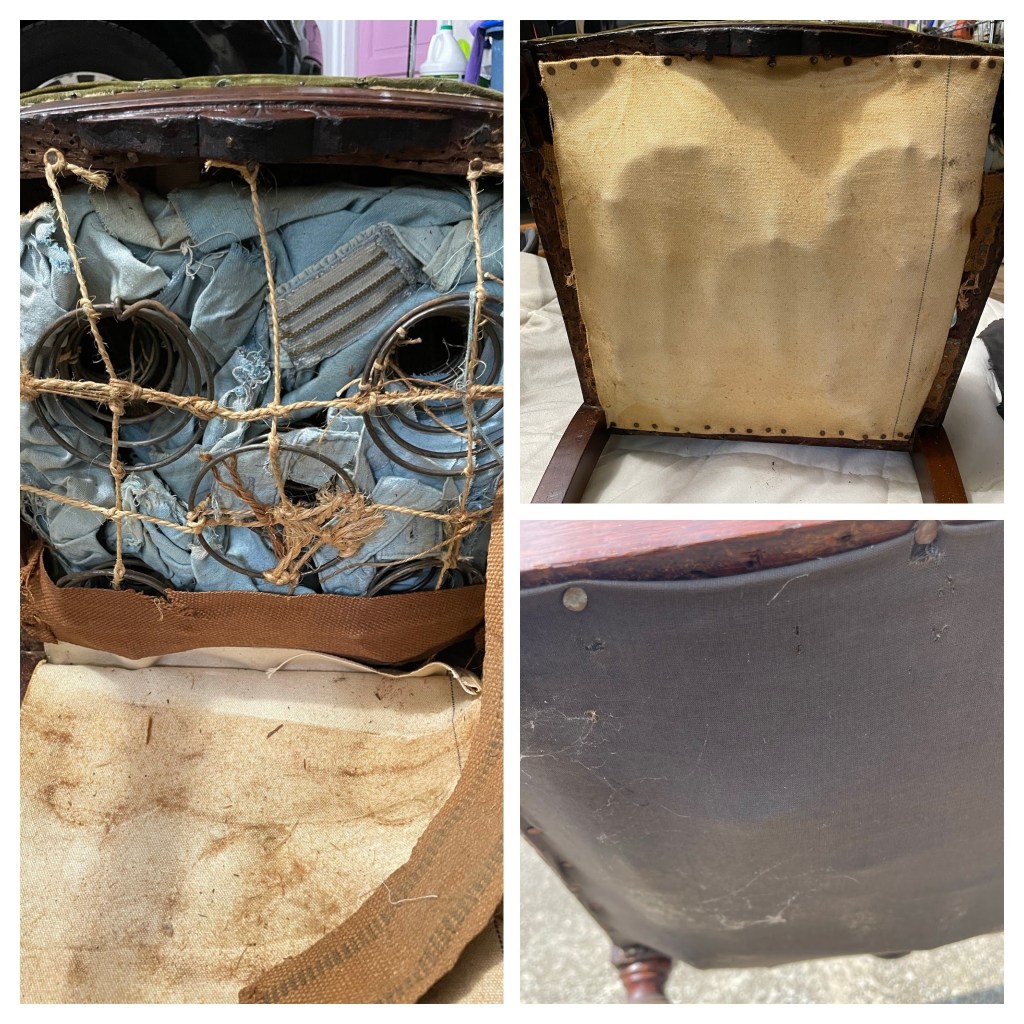
Before going to the upholsterer I decided to snoop under the seat. Check out the old coil springs that were under a layer of cambric, a layer of canvas, and webbing.

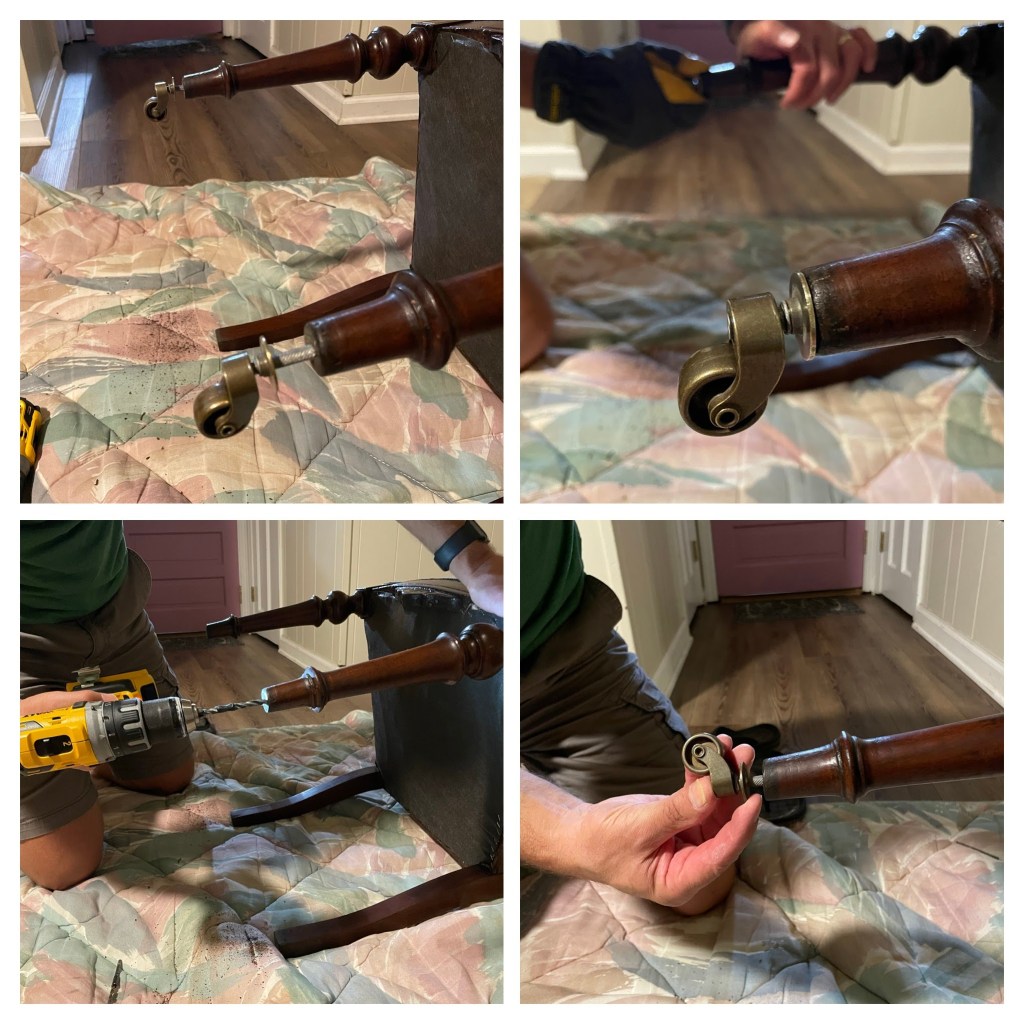
When the chair came back from the upholsterer there was only one thing left to do to finish it: add antique brass stem casters to the front legs. I had my handy husband help because I was too afraid of making a mistake. He did a perfect job!

#34 Antique Victorian Empire-Style sofa

Transformation expenses: $24.82 plus upholstering costs

This beautiful turn-of the twentieth century sofa was a family heirloom that got crowded out and was languishing in a basement. Thankfully its owners contacted me before sending it to the thrift store. And thankfully I found a family that saw its potential and was willing to pay for professional upholstering. I think the result is a spectacular, happy ending.

This sofa’s upholstery was outdated, torn, and still had hay and horsehair stuffing. It seriously needed an update! Apart from some previous repairs and some damage to the veneer, the frame (with its original casters) was in reasonable shape and really just needed cleaning and restoring. The first step was to take it to the upholsterer and get the old upholstery removed.

Once the frame was stripped bare I vacuumed and cleaned away the dust, dirt, and cobwebs. Then I pulled out my trusty refinishing tools: Howard’s Restor-A-Finish (mahogany), Howard’s Feed ‘n’ Wax, fine steel wool, clean rags, a toothbrush, and a wood finish repair kit.

Restor-A-Finish blended out the smallest scratches and (with the careful use of some fine steel wool) removed the scuff and paint marks. I went back to the bigger cracks and scratches with a black Blend Stick and a dark furniture marker.

When the scratches, cracks, and dings had all been treated I finished with a coat of Feed ‘n’ Wax to restore a beautiful glow.

Meanwhile the new owner went fabric shopping. Amongst these and other options her eye kept going back to the one top left, which we decided to call “Modern Rose”. The pattern compliments the rose carvings on the frame perfectly, and the grey/yellow color scheme is a personal favorite of hers. We chose black velvet for the outside back and sides and included matching pillows trimmed with black velvet cording.

The final leg of the journey was back to the upholsterer to put it all together.

The end result is a beautiful blend of the rich wood tones and the new fabric, which is the perfect balance of neutral/vibrant and modern/traditional.