
Transformation expenses: $35.74
A while ago we hired a dumpster during a landscape project. When neighbors threw in a perfectly good picture frame I grabbed it knowing it would be good for something. Months later some friends and I were browsing quaint shops after a lovely afternoon tea. One friend saw a jewelry board that she particularly liked and I offered to create something similar with this frame.

Keeping costs to a minimum was the biggest challenge on this project. For my design I needed:
- 5/8″ dowel rod & plywood
- Leather cord & 1 yd fabric
- Decorative tacks & cup hooks
- Wooden decorative appliques
Fortunately I already had these things left over from previous projects:
- Spray paint
- Clear, dark & metallic wax
- Thin batting
- Beads & craft paper

The frame was rather uninteresting so I embellished it with wooden appliques and a layering of paints and waxes. The frame, appliques and doweling were first painted with Rust-Oleum 2X Ultra Cover in Antique White. I also painted the brass cup hooks with Rust-Oleum Hammered spray paint in dark bronze.
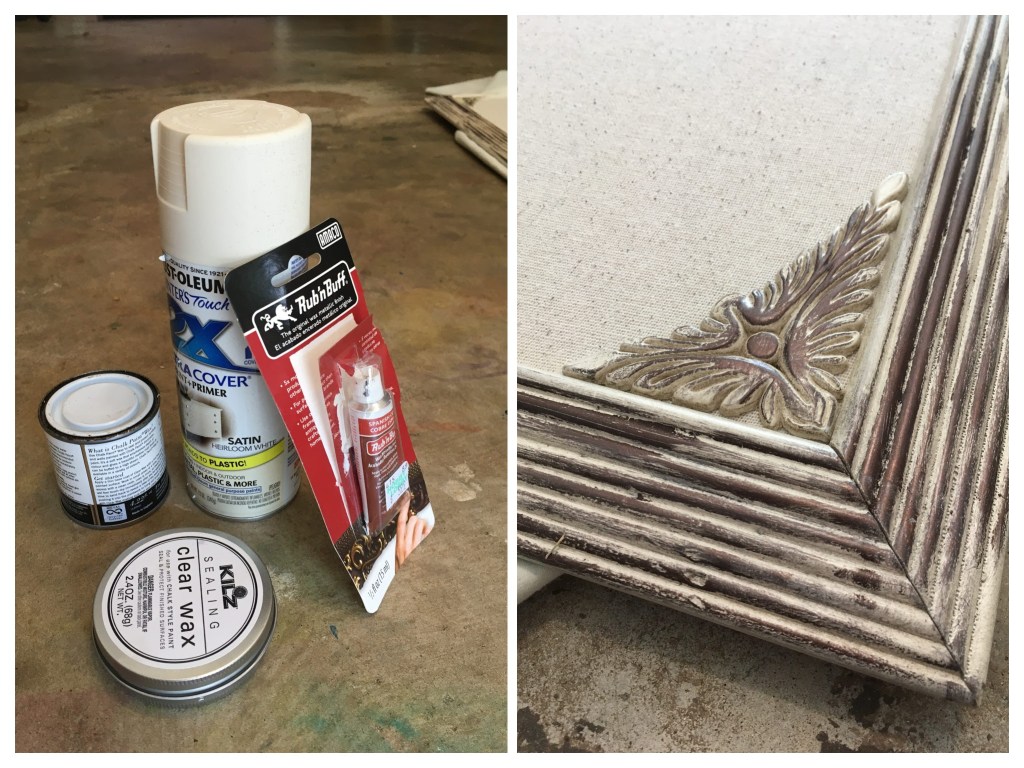
I then applied clear wax, followed by dark wax, followed by Amaco Rub ‘n Buff metallic wax in Spanish Copper.

Meanwhile I wrapped the plywood with thin batting followed by a neutral fabric.
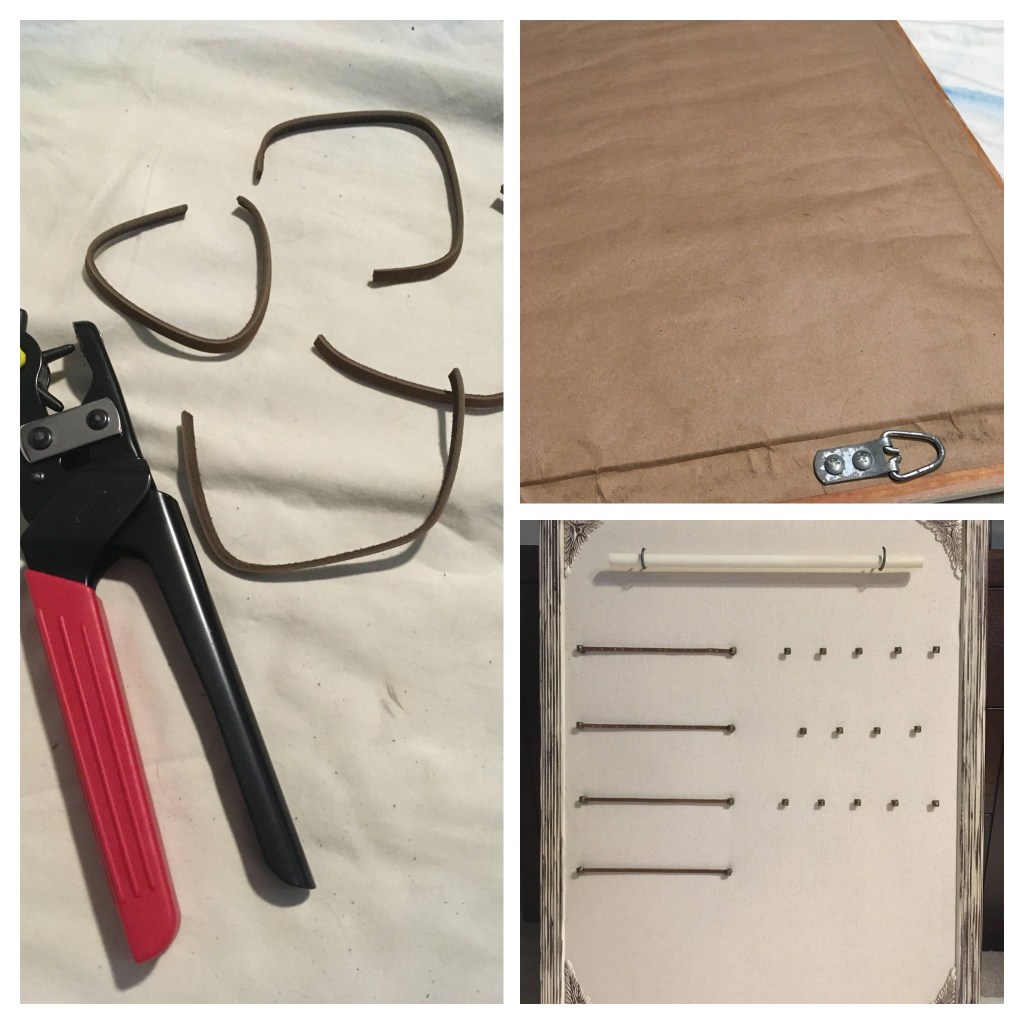
I secured the prepared plywood into the frame using panel pins. I then cut four equal strips of leather cord for hanging earrings. I punched holes in each end of them all and pairs of holes at intervals along two of the strips (for earrings with posts). These were then nailed to the board using decorative tacks and a bead as a spacer. For bracelet storage I attached a length of the painted doweling using the two painted cup hooks. Finally, more decorative tacks function as hangers for necklaces. The back of the frame is finished with craft paper and a pair of D-hooks for hanging.


