Transformation expenses: Frame restoration – $4.84, professional upholstering in leather – $420
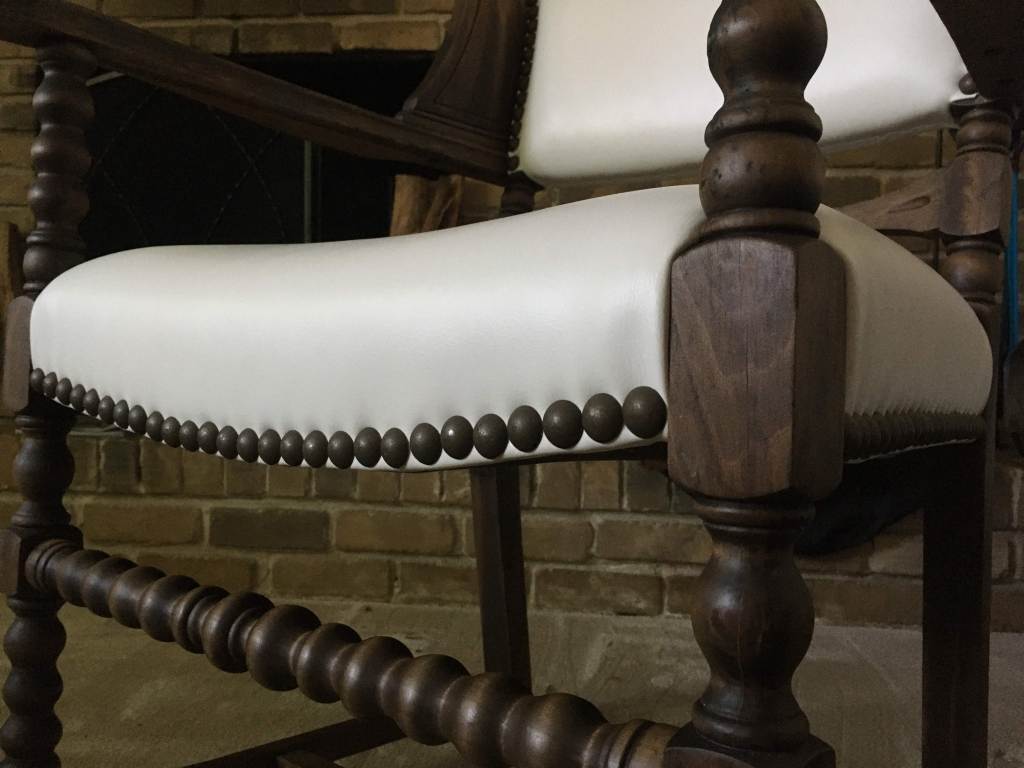
This circa 1890s winged armchair was put to the curb at a property that was being flipped. Its transformation was a labor of love. For the first time ever I employed the help of professionals; the re-upholstering of this chair was beyond my capabilities, so after I had transformed the frame, I took it to Budget Upholstery & Fabrics. I would not ordinarily have gone to such great expense but the antique value of this piece made it worthwhile.
Some people reading this might question me refinishing rather than restoring this chair. We’ve seen antique appraisers lamenting over a piece that has diminished in value by being refinished. This was not that type of piece (see below). I’d like to think the original furniture maker would be pleased to know that 120+ years later someone had put so much time and effort into making it functional and beautiful again. Read on for more on its journey from mildewed neglect to fireside treasure.

Peter Cook (executive producer of Antiques Roadshow) wrote: ” Understandably, our Americana experts on the Roadshow live for wonderful old pieces of furniture that have somehow survived in terrific condition …. Most old furniture, of course, doesn’t come close to meeting those standards. On the contrary, most furniture has been well used (even abused), scratched, broken, and often repaired many times. How could such furniture not be improved by a good job of refinishing or restoring? A comparison with a friend’s antique left me in no doubt that this piece was beyond simple restoration. On the left is my friend’s chair which is well preserved and still has its original patina. On the right is this chair which was dull and mildewed in places.
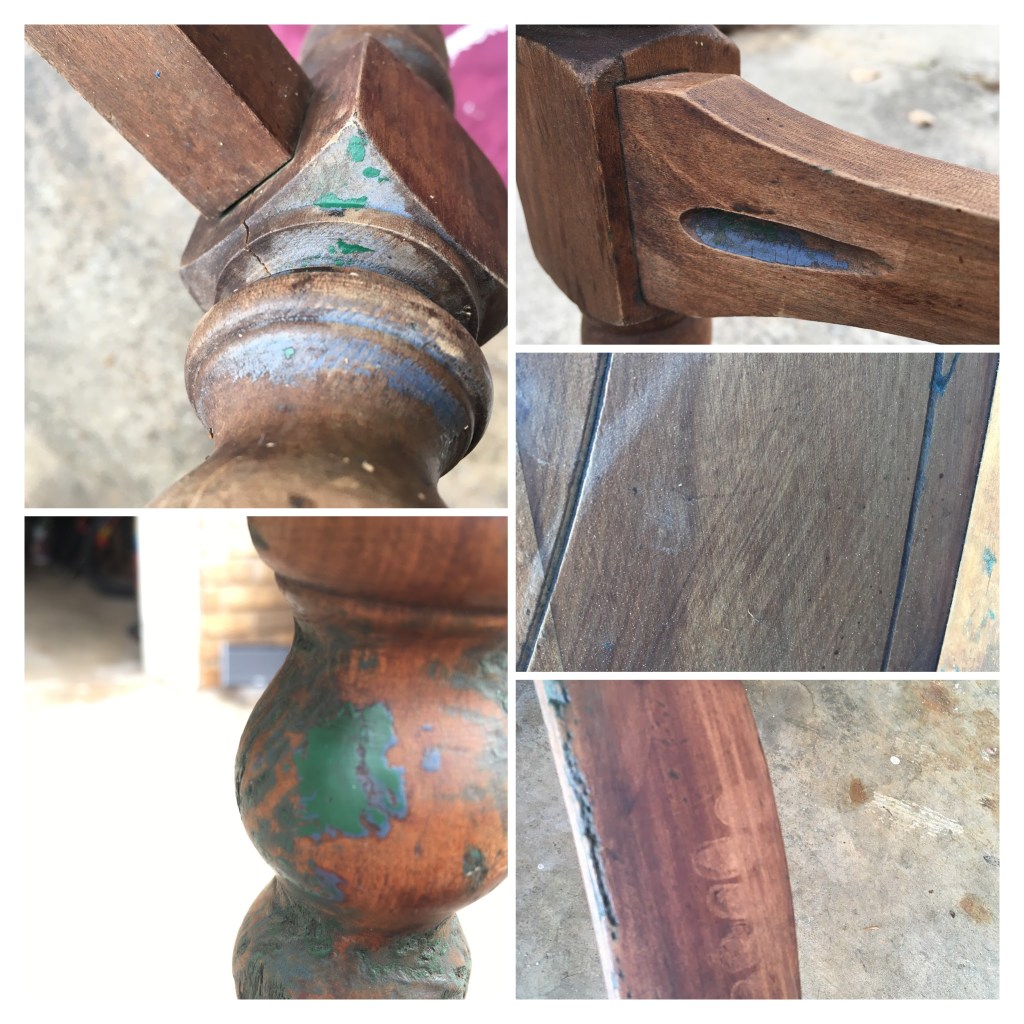
As well as signs of neglect this chair had evidence of poorly applied stain (see brush marks and fingerprints) and at least two different applications of paint (blue & green).

I first cleaned the piece with a mild detergent and then with TSP All Purpose Heavy Duty Cleaner (used by antique restorers). After both cleanings the chair still needed more than just a finish coat. I knew then that I would need to sand it back to the raw wood.

My goal was never to get it looking like new, rather to remove all ingrained dirt/mildew and get it a fairly even color for staining. After many, many hours of painstaking work (using just 220 or 400 grit finishing sandpaper) the sanding was finally complete. The piece still bears a lot of the marks of old age (scratches, dings, traces of old paint) but those all give it character.
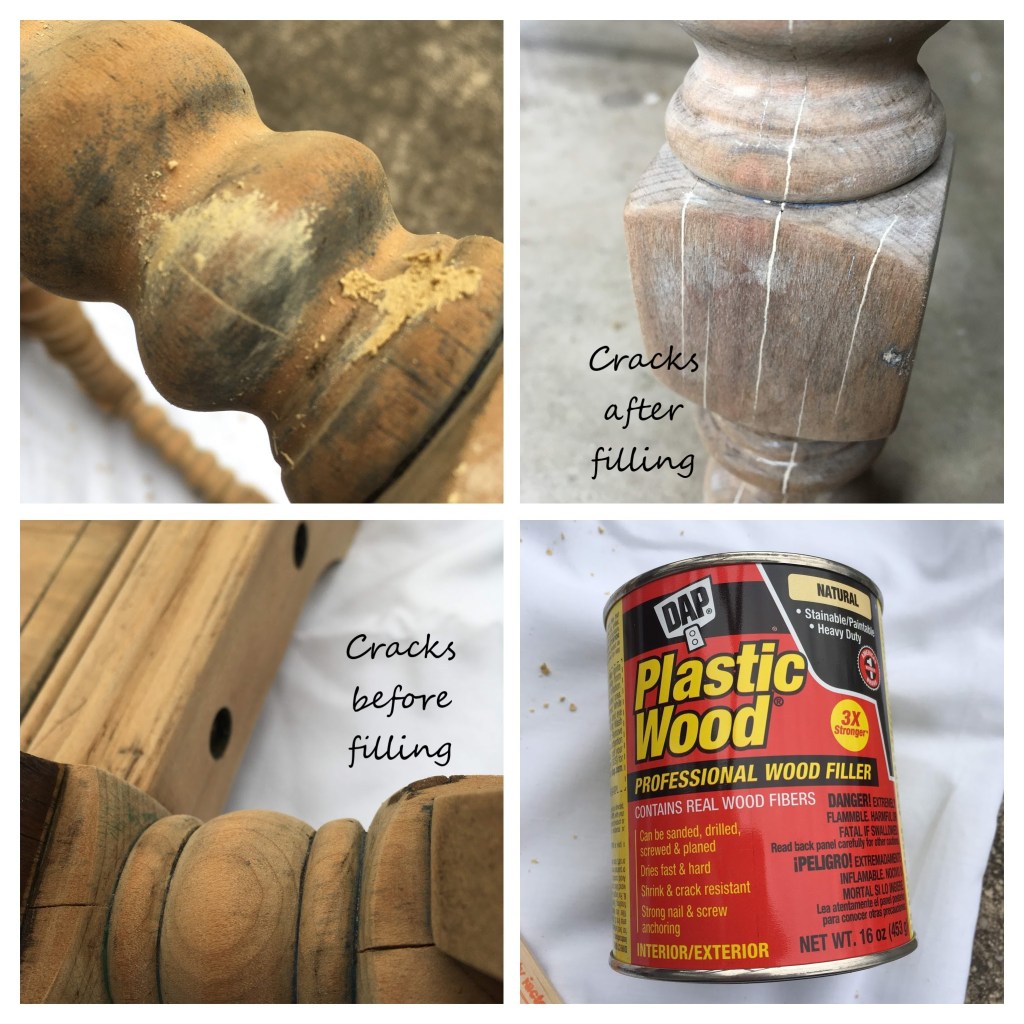
Before staining I filled the hairline cracks (probably from water damage) with Plastic Wood Professional Wood Filler. I simply rubbed it in with a (glove-covered) finger, let it dry, then sanded away the excess.
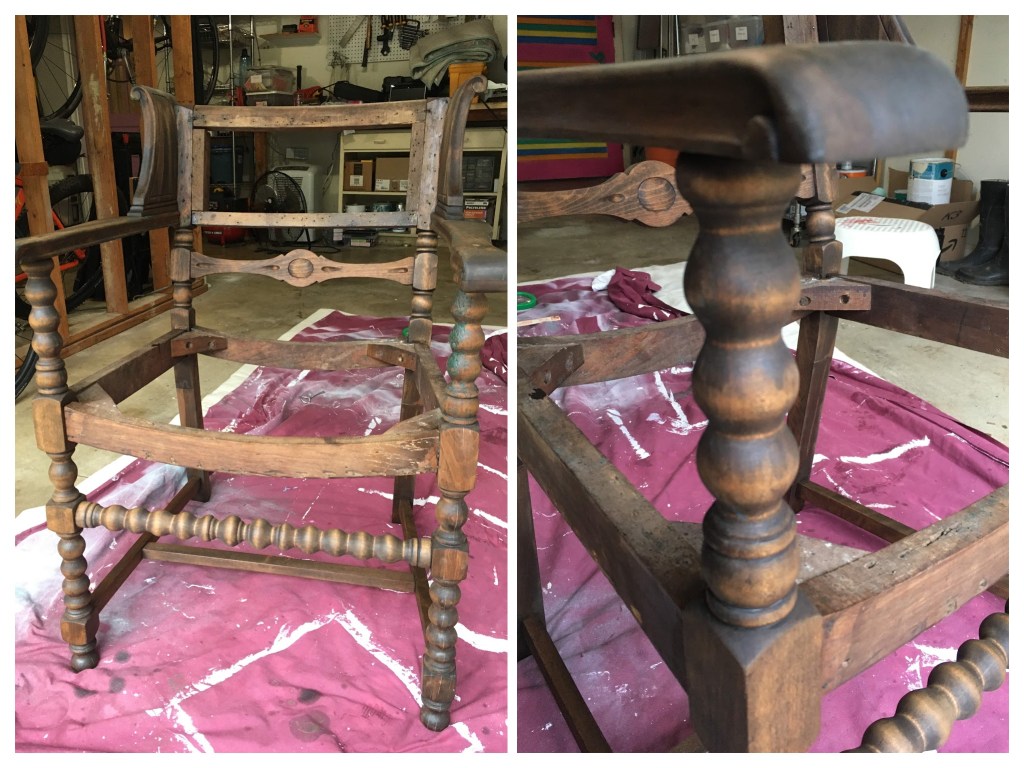
On recommendation from an online appraiser I chose a dark walnut oil-based stain by MinWax. I applied it with a brush then immediately removed any excess with a clean rag.
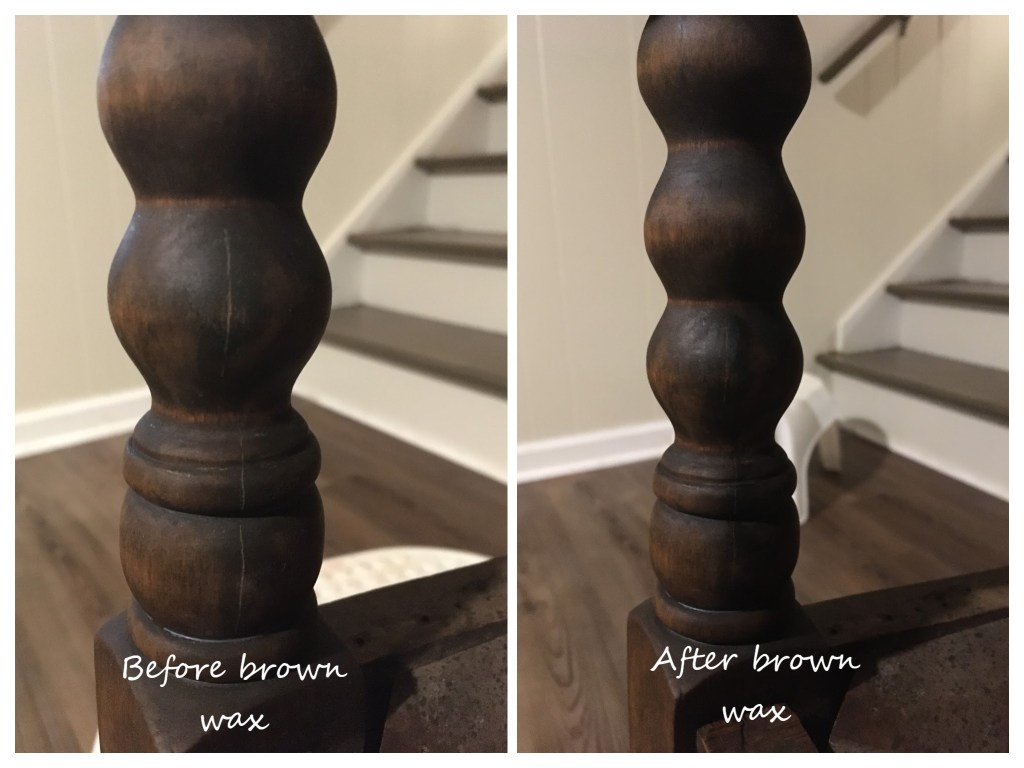
Despite it saying it “May be stained, sealed, or painted immediately after sanding” I was disappointed the wood filler did not pick up enough of the dark walnut color. The filled cracks were still visible, but thankfully I was able to blend them in with a little Annie Sloan dark wax.

As I began applying the finishing coats of Kilz clear sealing wax, some previously unnoticeable smudges of wood filler appeared (left pic). To fix the problem, I removed the wax with some solvent, sanded again, and re-touched the stain. After the whole frame had two coats of buffed wax and cured for 30 days it was ready to go the upholsterer.